I struggled deciding on what kind of wall protection I needed for my simulator. From the cheap stick on wall padding, to gym mats screwed to the walls, to acoustic foam on cardboard, to DIY panels, I looked at it, and on some level even considered it all.
I researched golf simulator wall padding options way more than any human should. Seriously, I found more examples of different wall padding and protection options out there that it made my head spin. You can see my research at the link above if you want to look at tons of examples and different solutions.
In my first simulator I didn’t really worry about my walls because it was a plywood building and it had a peaked roof that went up to about 12′. I hung an archery net to protect the ceiling and hung moving blankets on the side walls to protect from my buddy David’s shots. I put pool noodles around the metal pole at the top the screen was hung from. It worked, ok’ish.
Sky shots still went up and hit the metal roof with some velocity. Sometimes they were hard enough to knock off small chunks of the spray foam insulation that would rain down like forbidden chunks of parmesan cheese.
Some of the shanks still hit the wall hard enough to dent the plywood and bang loud enough to get your attention. We all were usually ready when Dave is swinging.
In my new simulator I was building I needed a better setup. I wanted it to fix some of the problems we had in my first simulator. Specifically ceiling protection.
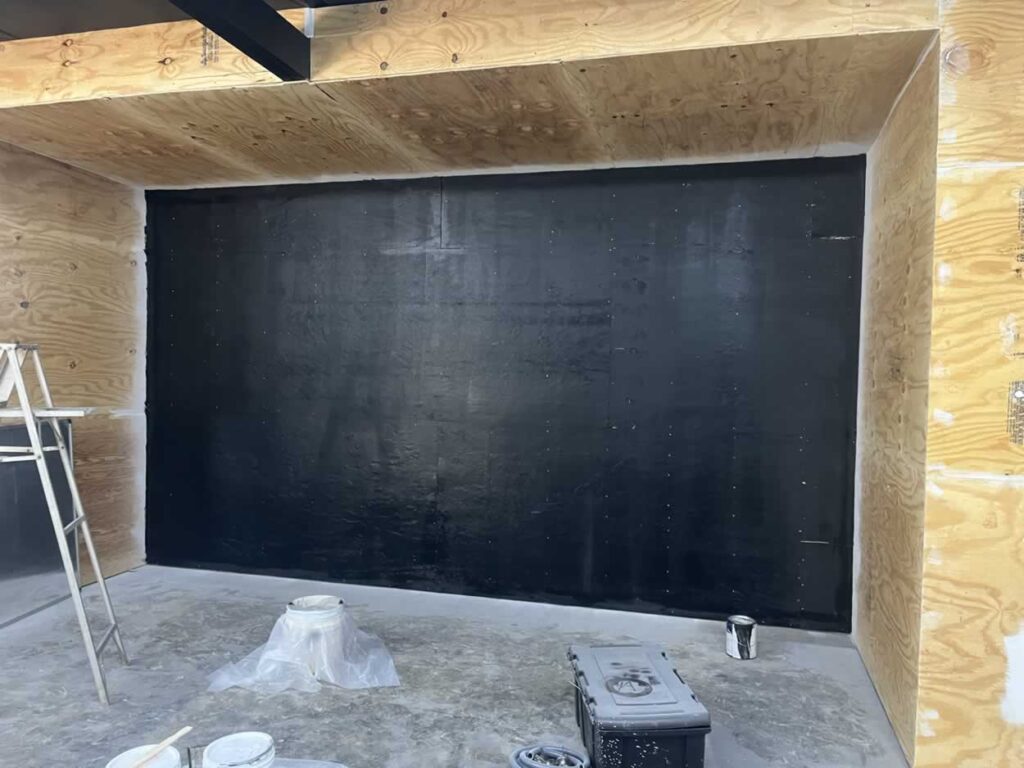
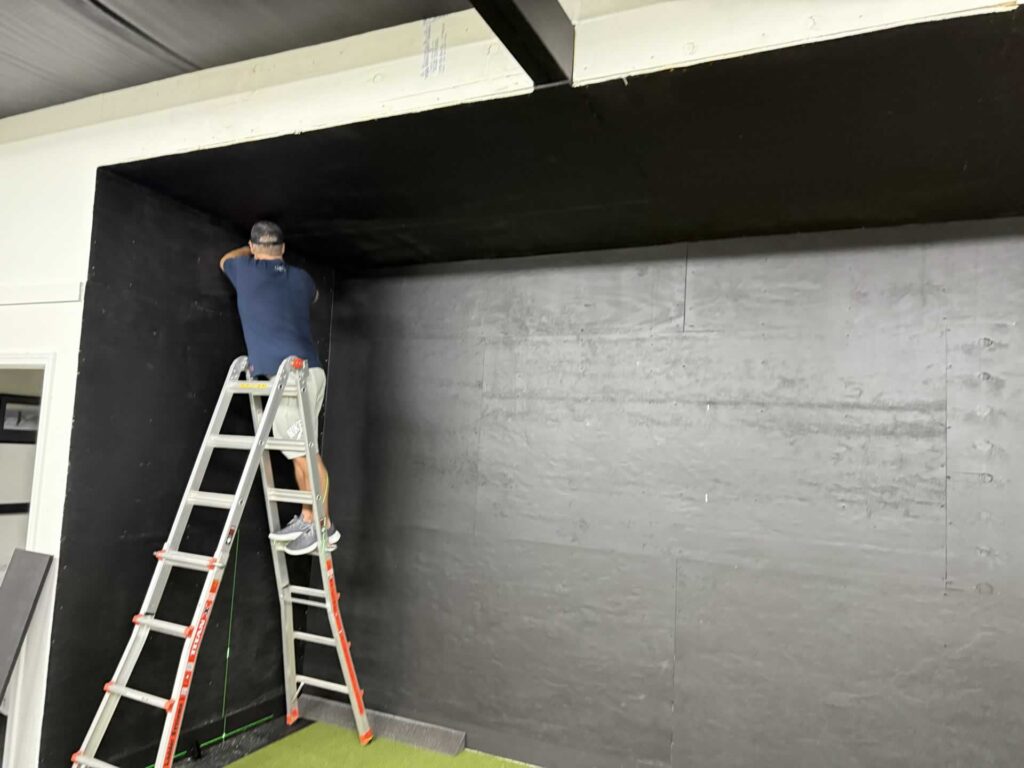
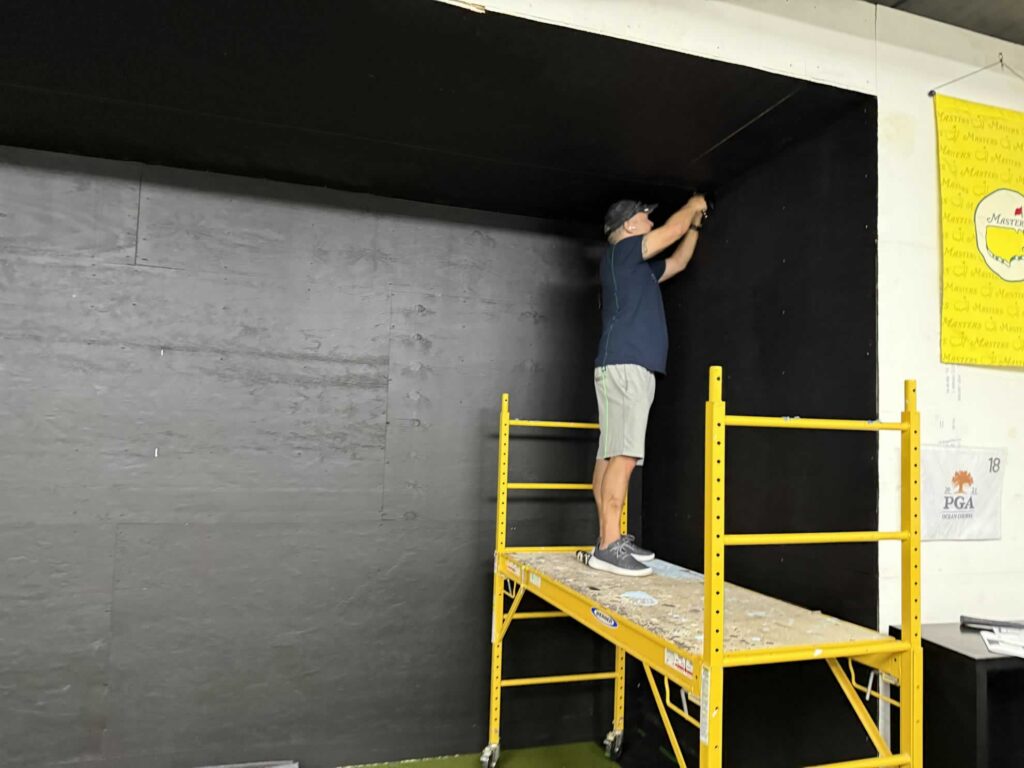
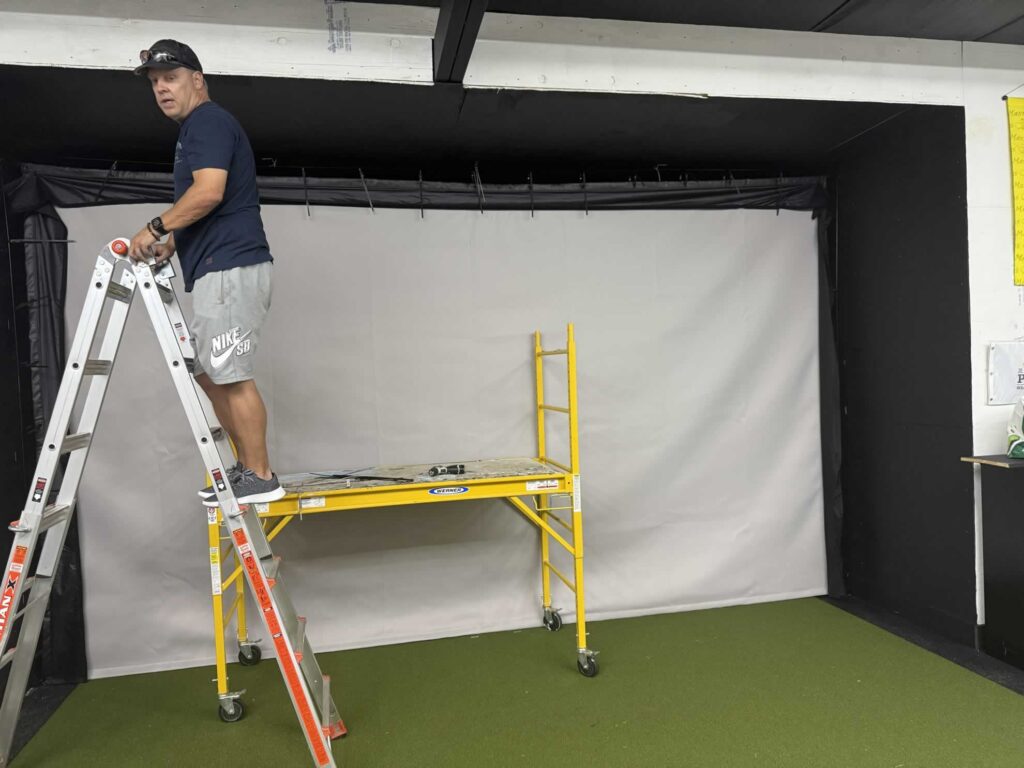
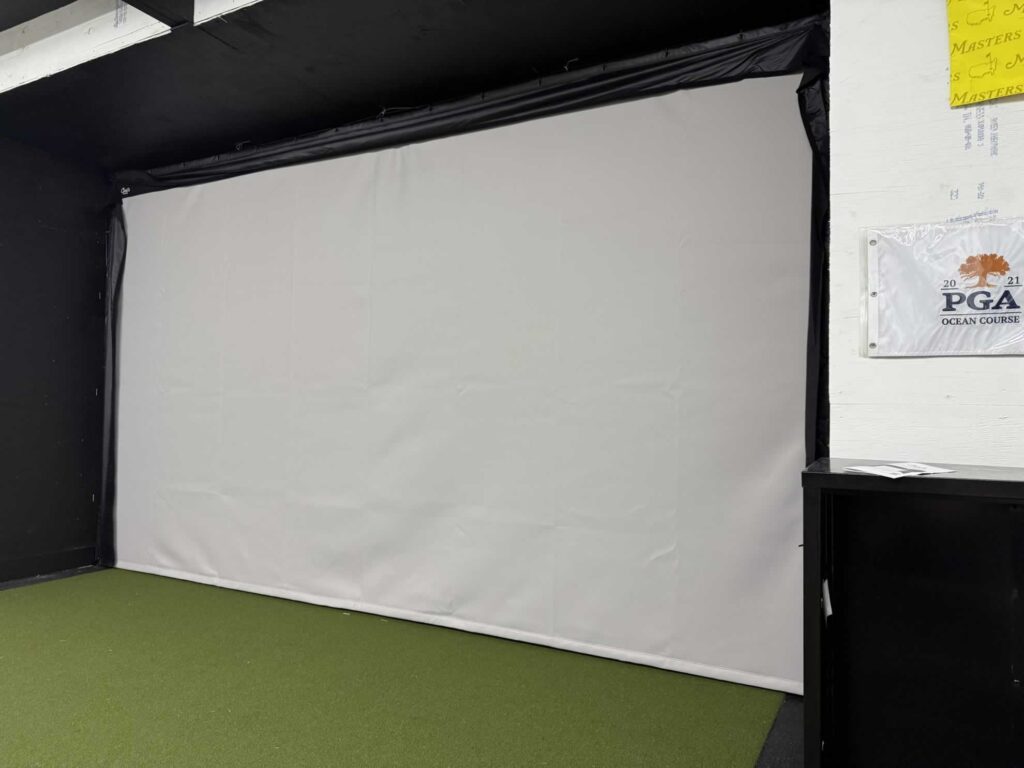
Here is the space I was working with.
This is my plywood enclosure fully painted and ready for the screen and wall padding.
My original plan was to just use eyelets and bungee cables to connect the screen to the wall like I did in my previous simulator. After discussing the project with Carls a little bit, I changed the plan.
After a lot of internal debate, wall option research and indecision, I decided to just bite the bullet and go with the pro’s.
I reached out to Carls Place and got them to help me finish my simulator the right way, with a custom built in golf room kit.
Carls Built In Golf Room Kit
It is a custom package designed for my space.
It’s both the impact screen and the wall padding and protection system designed and built specifically for my space. Plus all the hardware and stuff to hang and install everything.
Since there are not many personal reviews of the Built-In Kit itself, I figured this would be a great piece of content for those who are trying to decide the best way to enclose your golf simulator space and protect yourself and the area.
Overview
| Name | Carls Built In Golf Room Kit |
| Best Price | $1,234.00 |
| Website | carlofet.com |
| Category | Simulator Builds |
| Company | Carls Place |
| Phone | 608-560-5551 |
*prices vary depending on your build.
How It Works
First – measure. Then measure again.
You will need to give them room measurements. Width, height, depth and also what kind of launch monitor you are using plus a few more questions.
I gave them measurements of my space and we discussed a few options. Visit Carls Place and click on ‘build my simulator’.
We ended up moving my screen forward about 26.5 inches from the back wall. This let my enclosure area fit one starter panel and one panel that lined up to the edge of my enclosure area perfectly. This kept my costs down as low as possible by only needed one standard sized panel and one starter panel then the screen.
Here are my measurements, if you are into that kind of thing:
- Enclosure Height (in Inches) 117.5
- Enclosure Width (in Inches) 202
- Enclosure Depth (in Inches) 68.5
The screen is going to be hung inside the enclosure about 26.5″ from the back wall.
The Plan:
Hang the screen 26.5″ away from the back wall. Then use 6″ starter panels all the way around the screen (not the bottom). This is where the black flaps attach to and crucial for the setup, holding the foam padding inserts.
Then in front of the starter panel we can use one standard width of 36″ row of foam padded panels all around the enclosure. The ends of the panel will line up perfectly with the outer edge of the enclosure.
No additional panels to purchase or install keeping costs as low as possible while protecting your space with a clean finish. That’s the plan anyway, let’s see how it works out.
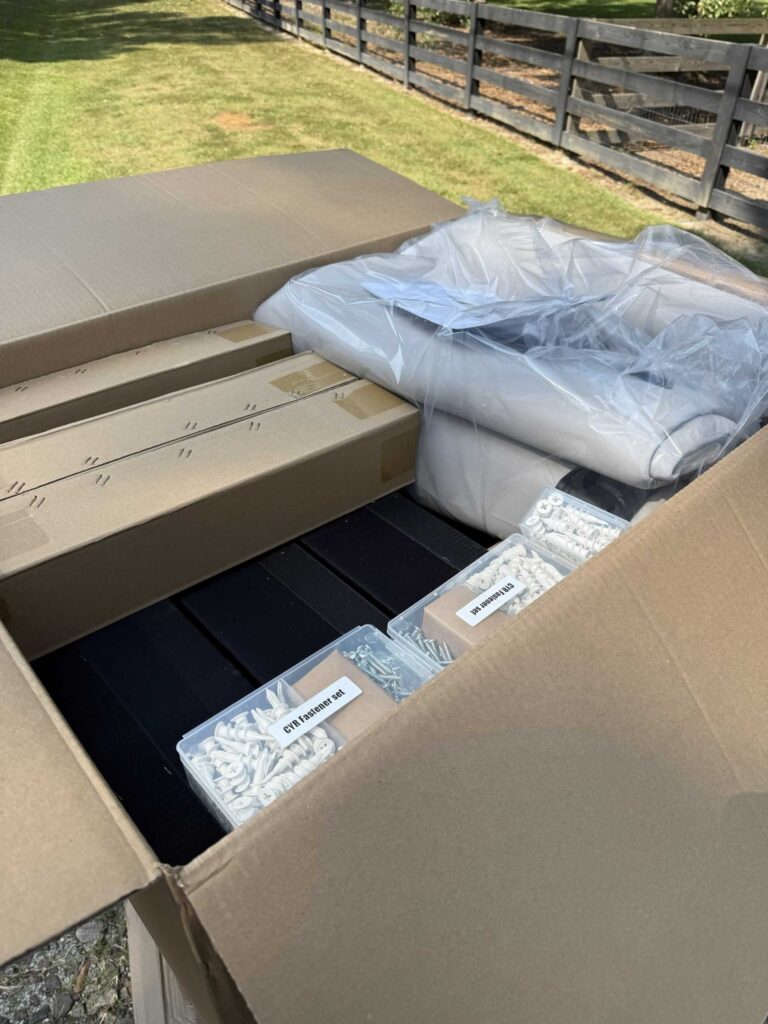
The Delivery
Everything was delivered by an 18-wheeler on a pallet.
After placing the order with Carls for the kit I waited for an estimated shipment time. I had scheduled delivery for about a month and a half out since I was due to travel some later that month. About a week before delivery time I was contacted by the freight company and got scheduled for delivery.
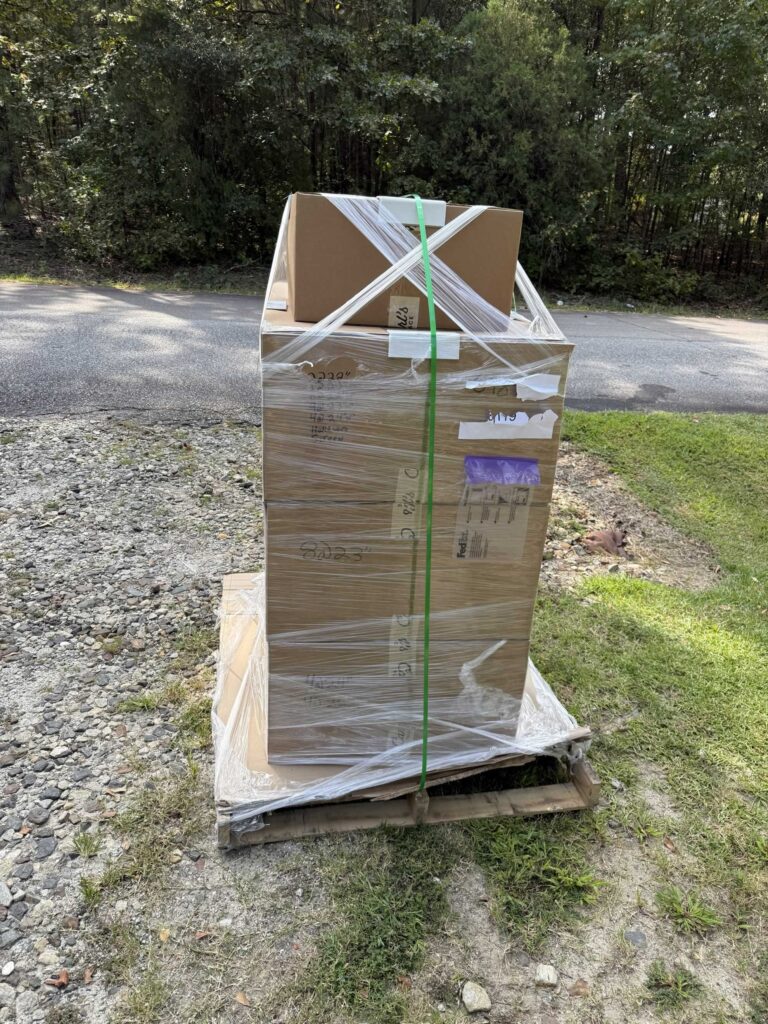
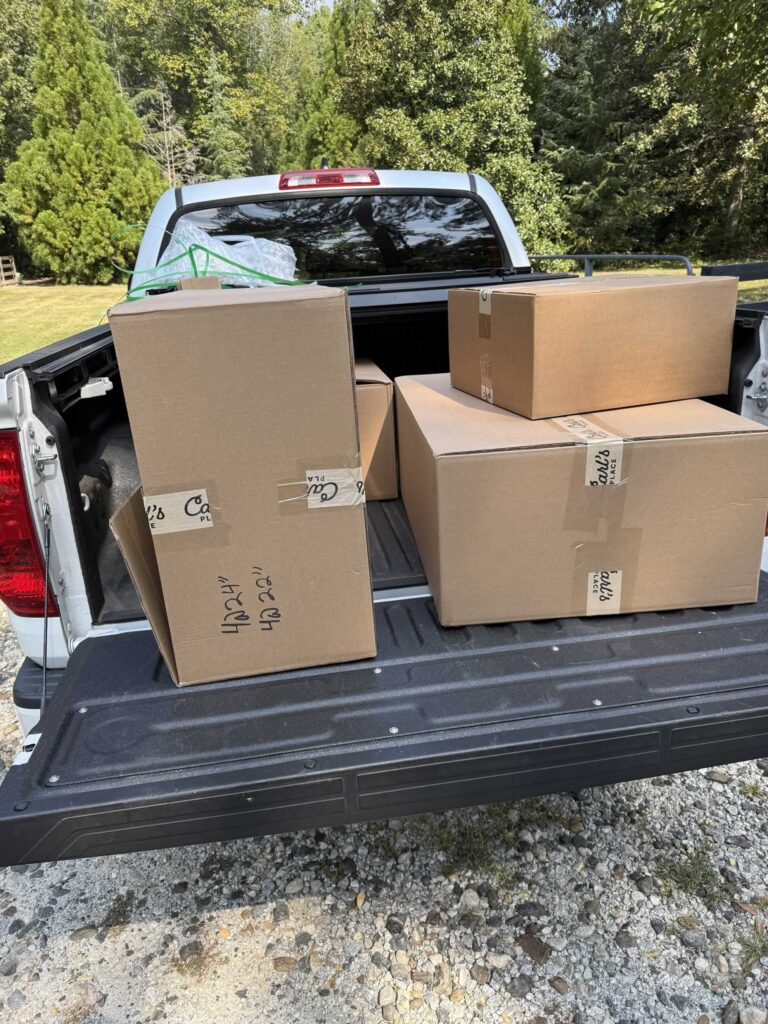
I had them deliver to the end of my driveway and I just unloaded everything into the back of my truck and drove it to my shop/sim since there is no way to get a big truck back there.
The Install
Step 1: Hanging the Impact Screen
First step is to screw the provided wall anchors into the corners of where the screen will be. Top and bottom on the left and right sides all get an anchor screwed into the baseboard and headers. This needs a secure connection as it holds the tension of the wire that the screen is hung on and attached to. Also you need to be as precise as possible with your anchor installations as they are going to act as the four corners of your screen. If they are out of alignment then your screen is going to lean.
Once the anchors are installed. It’s time to run the wire / cable, which we will then hang the screen. They provide an anchor and pulley system that works great to run the wires through the top and bottom anchors and connect to each other with a turnbuckle that you can also tighten or loosen.
We thread one of the wires through the top pulleys on the right and left and then we get the screen itself which has a metal wire that is installed along the bottom. We run that wire through the bottom anchors and up to meet the top wire which connects via a turnbuckle.
Across the top we attach zip ties into each grommet and attach it to the wire. Only loosely tighten the zip ties.
Once the screen is loosely hung with the included zip ties, we go around and tighten the cables/wire via turnbuckle and then tighten each zip tie, making sure the screen stays perfectly level and the base of the screen lays flat on the ground.
At this point we are feeling pretty good.
I had two friends help with the install and we got the screen hung in one session once we put screw to wall and anchored in the first anchor. We called it a night and planned to regroup and move forward the next day.
Little did we know that the most tedious and time consuming part was next. The hanging of the wall panels.
Step 2: Hanging the Wall and Ceiling Panels
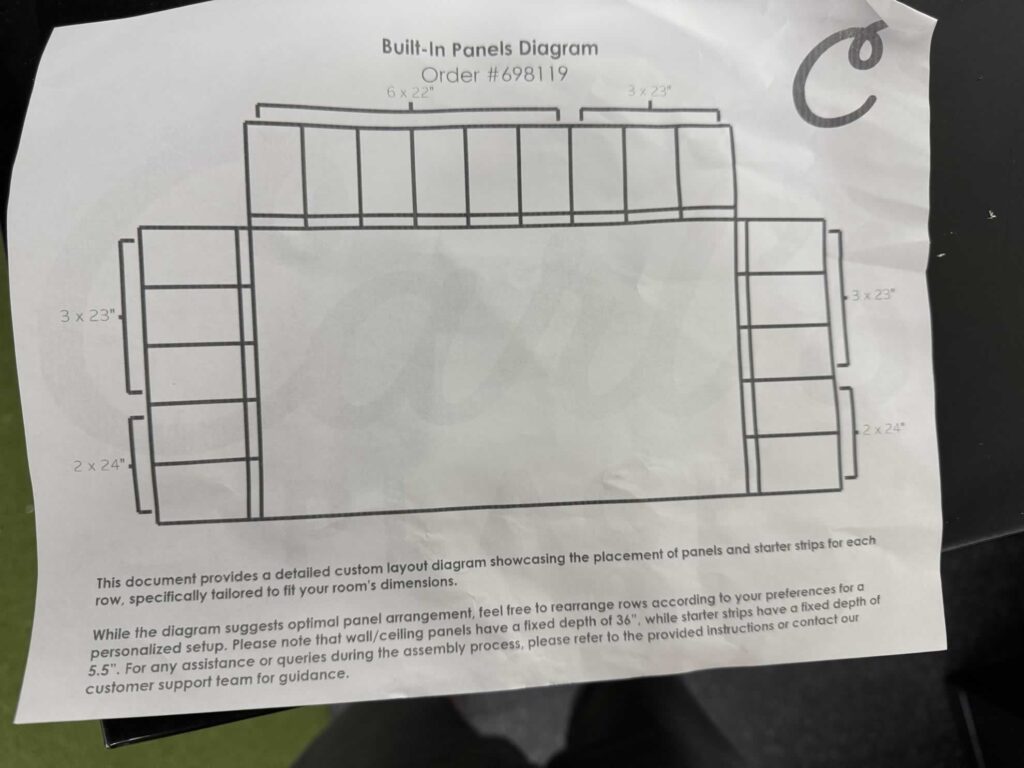
The first thing you need to do is sort and lay-out your panels.
Use the included paper print-out of your room layout and how the panels are to be installed. Sort them on the ground and I recommend laying them out prior to hanging your first wall cleat.
Be careful and do sort your panels. We learned that there are different sized starter panels or that it would matter which way those went around the screen since we had to go around the left, right and top of the screen regardless. We did not realize that there are 22″, 23″ and 24″ starter panels and we did not sort them exactly right to begin. We had to cut the last one down to size because we screwed it up, but it is completely fine. You can’t see it or even tell (it’s in the top left hand corner when you look at the finished pictures), but you won’t be able to see anything because the foam and finishing flap cover it. I digress… sort your panels.
Once you have your panels sorted and laid out it is time to start hanging them on the wall.
The hanging of the wall panels is not hard per-say, but it is tedious. You have to do multiple things over and over for each and every wall panel. My friends and I had a nice system worked out by the time we were finished where one of us was doing each individual step to keep the wall panels getting hung at a reasonable pace.
French cleats with z-clips.
This part of the process is not difficult, but it is tedious. There are multiple steps I will list below. Here is part of what it looks like:
Wall Panel Install Steps
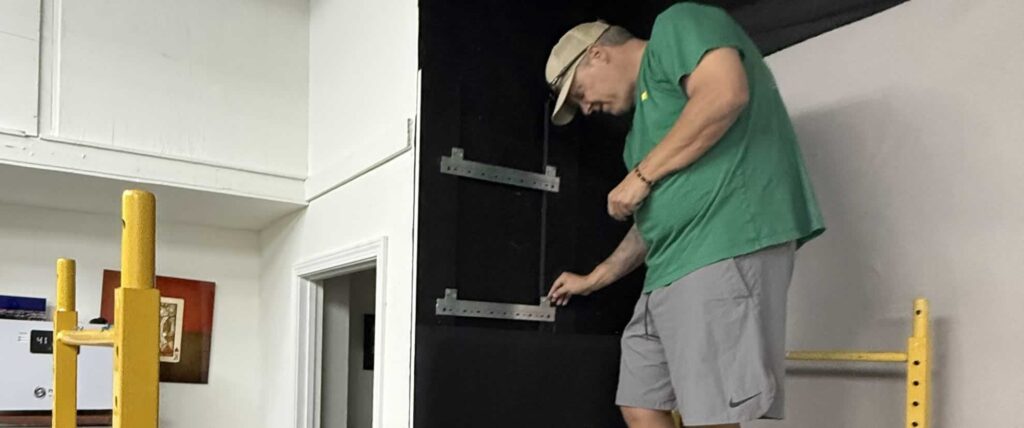
- Screw the starter panels directly to the wall and ceiling all around your screen.
- Measure and place two of the metal french cleats on the wall (pictured above).
- Remove stickers from four Z-clips (i mention this because it is a pain to do so, you’ll see lol – plus the trash gets everywhere)
- Place Z-clips in the french cleat with the sticky bits facing forward.
- Place and press the wall panel into it’s place, pressing against the Z-clip stickers (attaching them to the back of the wall panel.
- Gently lift and remove the wall panel, keeping the Z-clips attached as best you can.
- Screw each Z-clip in place where it is attached so it will fit back on the french cleat evenly
- Place each panel onto the wall rails via the Z-Clips and french cleat and press into place.
- Repeat this process for every panel.
Work your way around your entire enclosure using the proper panels in the proper locations.
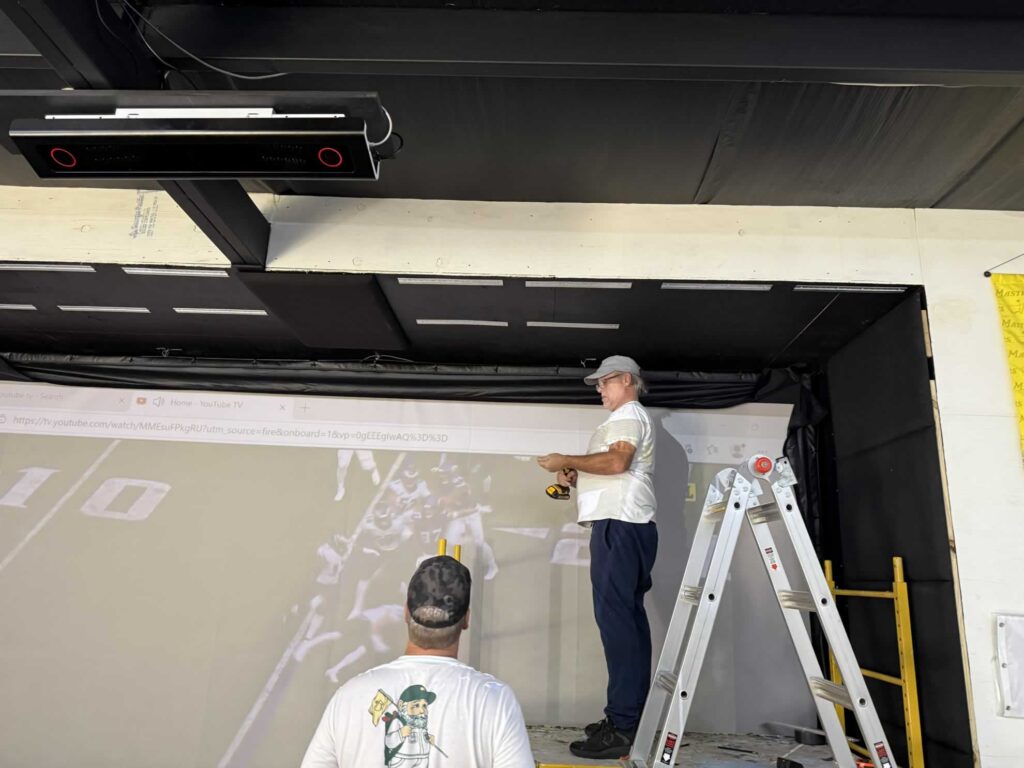
This was by far the most time consuming part of the entire install. It really was not difficult, just time consuming. If you are doing this by yourself it will take quite a bit of time. We had three of us working on different pieces of the puzzle once we figured it out and were able to get things moving .
One of us was hanging cleats and placing panels on the wall, one was preparing z-clips and screwing them into the panels, one was marking locations of future drilling.
The video at 4 minutes shows the process we had worked out to hang the wall panels.
Once you finish this stage of the install, you are virtually home free.
Step 3: Foam Inserts
I did not get photo’s of this stage but it is simple. There is a foam insert that you install behind a flap that surrounds the screen. Put the foam insert in, pull the flap over and velcro down and you are done.
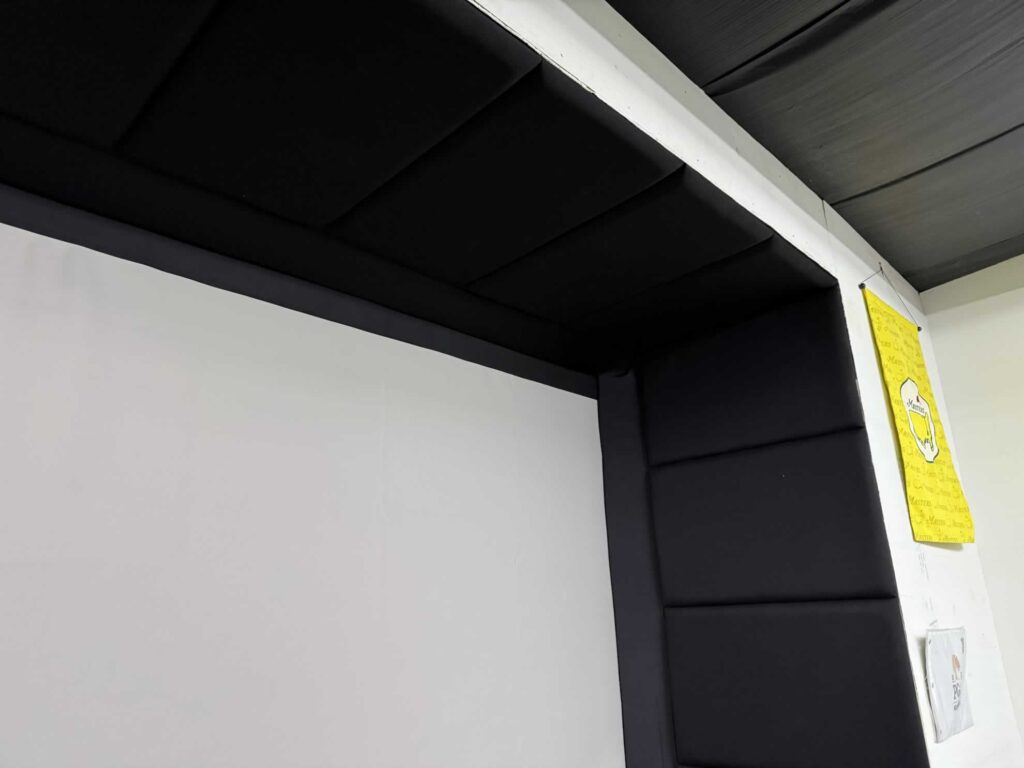
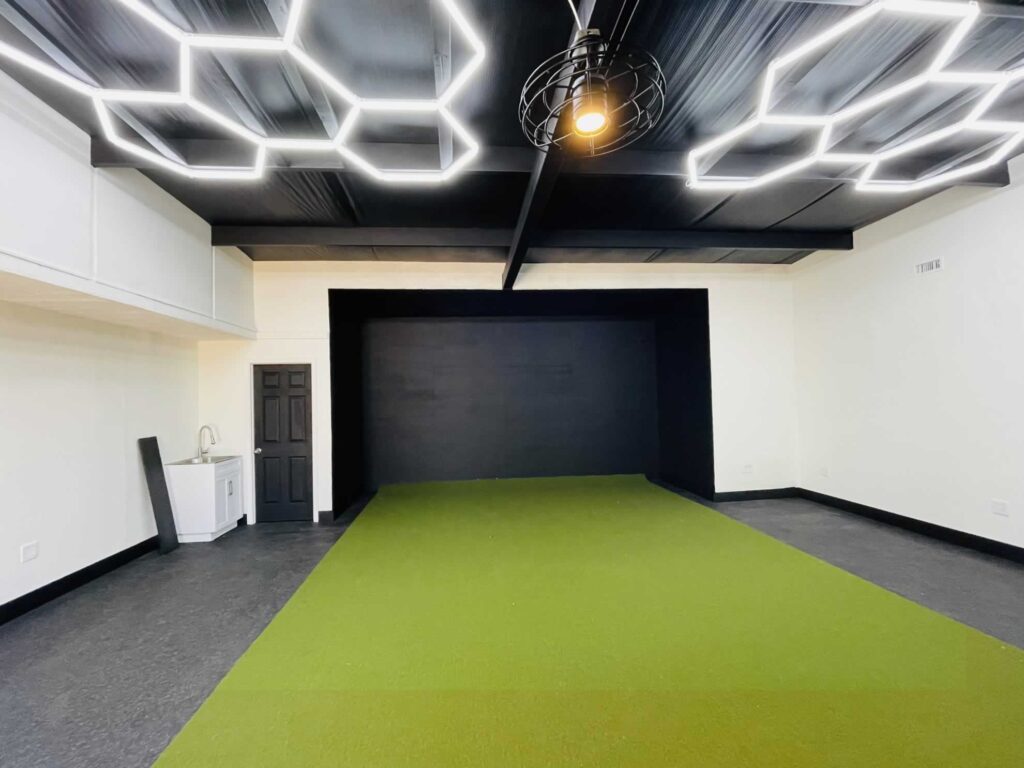
Finished Product
I say finished, but those of us with a golf simulator know that the work is never completely finished. We are almost always tinkering and adding pieces to make the sim that much more. But one of the main puzzle pieces is complete.
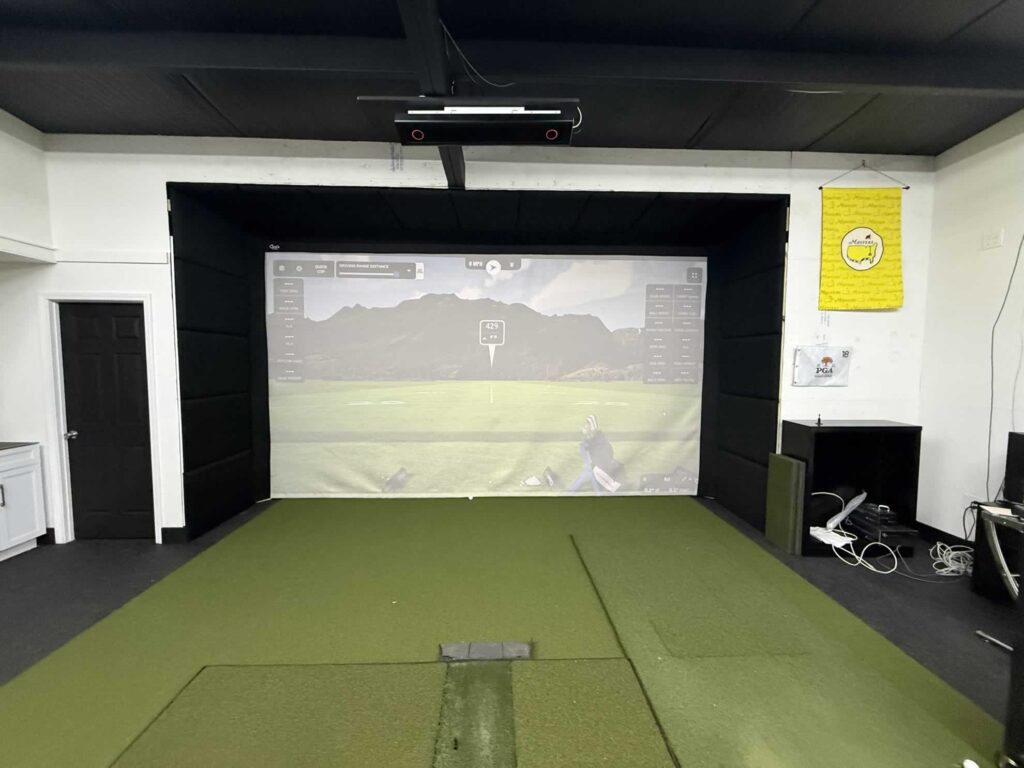
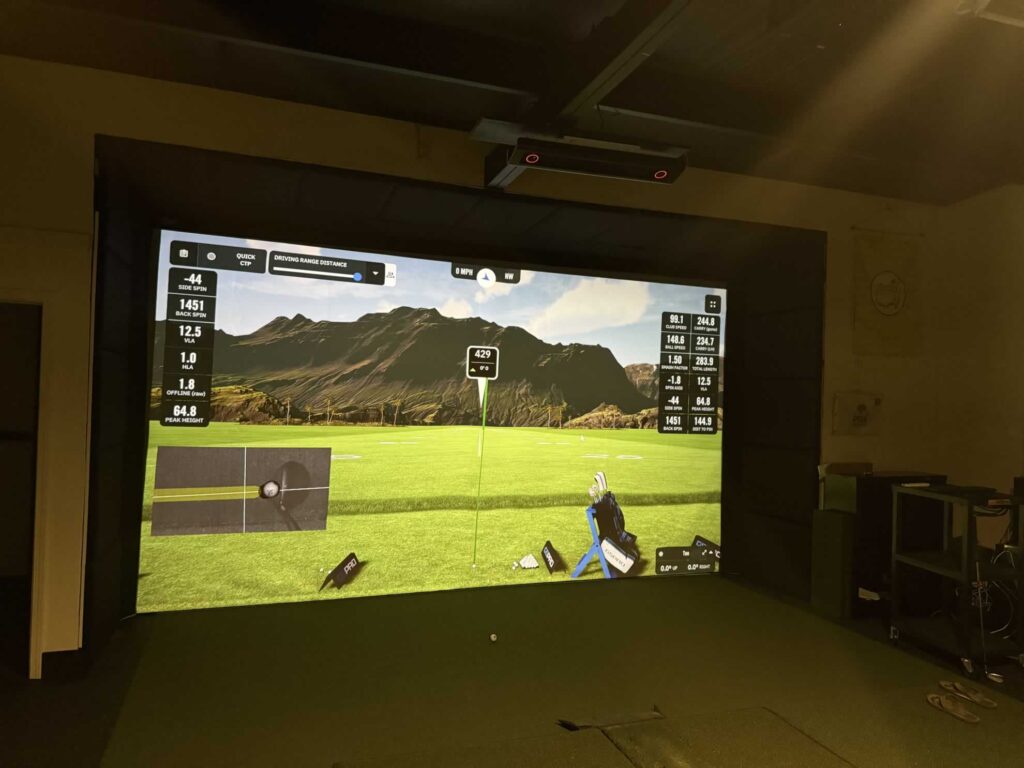
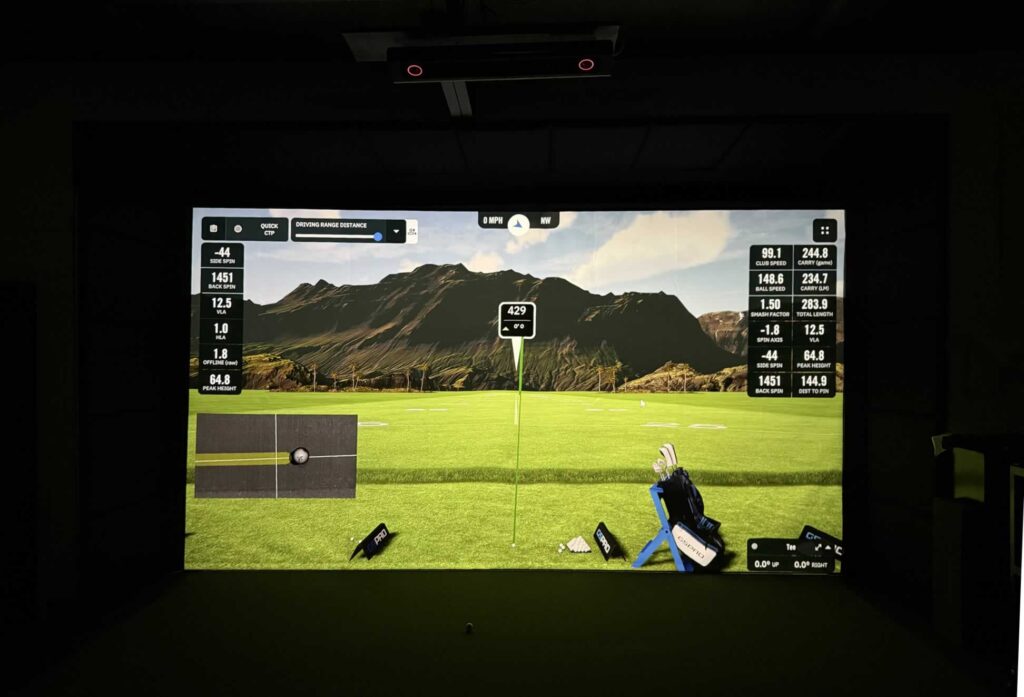
Function / Usage
It works great. The wall padding and protection has held up with plenty of shanks and sky’d shots testing the durability. So far so good after about 6 months of play.
If I compare this enclosure to my original golf simulator, which just attached the screen to the sidewalls with a bungee cords and hung from a pipe across the top without an enclosure, I feel much more comfortable now. It’s nice to know that even if some of my less than fantastic golfers won’t have too much to worry about swinging in my new simulator.
The biggest areas that need protection are the ceiling and the right hand sidewall and ceiling area. At least for my crew of right handed golfers. That is where the misses are going to happen and that is where the shanks are going to shank to.
Only one time as my buddy David been able to shank one far enough to the right to miss the front of my enclosure. we hit from 10 feet away from the screen and he managed to shank one good enough to hit my metal bookshelf off to the right of the enclosure. Other than that, my setup has caught everything and has not sent any ricochet rockets back at us with any velocity. This is a good thing.
High shots will hit the ceiling panels, then ricochet downwards and towards the screen and then to the ground. Those can come rolling back with a little speed but nothing dangerous like a hozel rocket ricochet to the cranium that some of the DIY setups can be prone to do if hit at exactly the weak point.
It has done it’s job and so far I have no complaints.
Noted Features
I have a full review of Carl’s premium golf screens as well as the new gray golf impact screen I put in this system if you want to look closer at those aspects of the install.
More Golf Sim Content You Should Read
- 100 Golf Simulator Examples – links to around the web for inspiration
- Budget Buster Golf Sim Guide 2026
- Launch Monitor Full List and Price Guide
- Golf Sim Wall Protection Options