
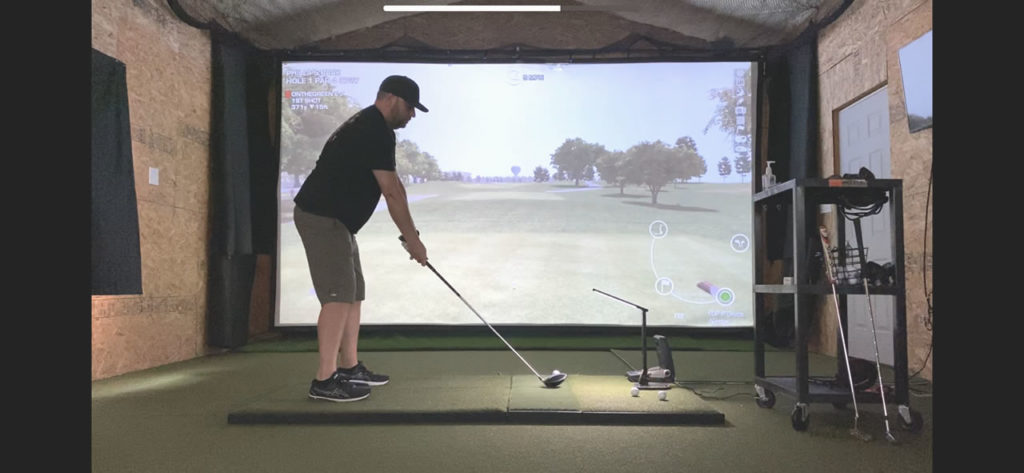
I built my golf simulator in the beginning of 2020, completed just before the world shut down due covid. This post will show you some pictures of my DIY setup and go over the components of a do it yourself golf simulator.
*New sim under construction in 2025! My brand new simulator is nearing completion.
Golf Sim Parts List & My Costs
Today prices have changed. Some items cost more and some less due to new market competitors making home golf sims affordable to more and more people.
Here is what I bought and spent.
- Launch Monitor: *$6500 Foresight GC2 purchased from Foresight. *Now only available on the used market and for better prices (check out this GC2 for sale and the GC3 is now on the market (see current launch monitors).
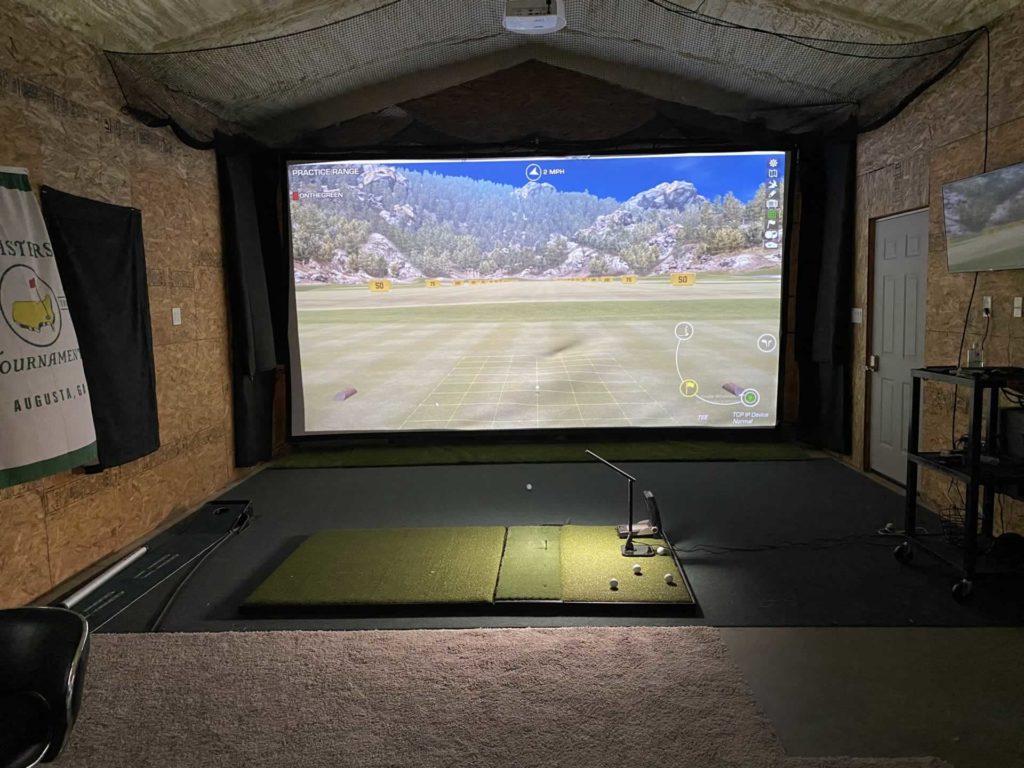
- Hitting Mat: $949 – Fiberbuilt 4×7 Studio (purchased from RainOrShine – prices across the board on this one have gone up.)
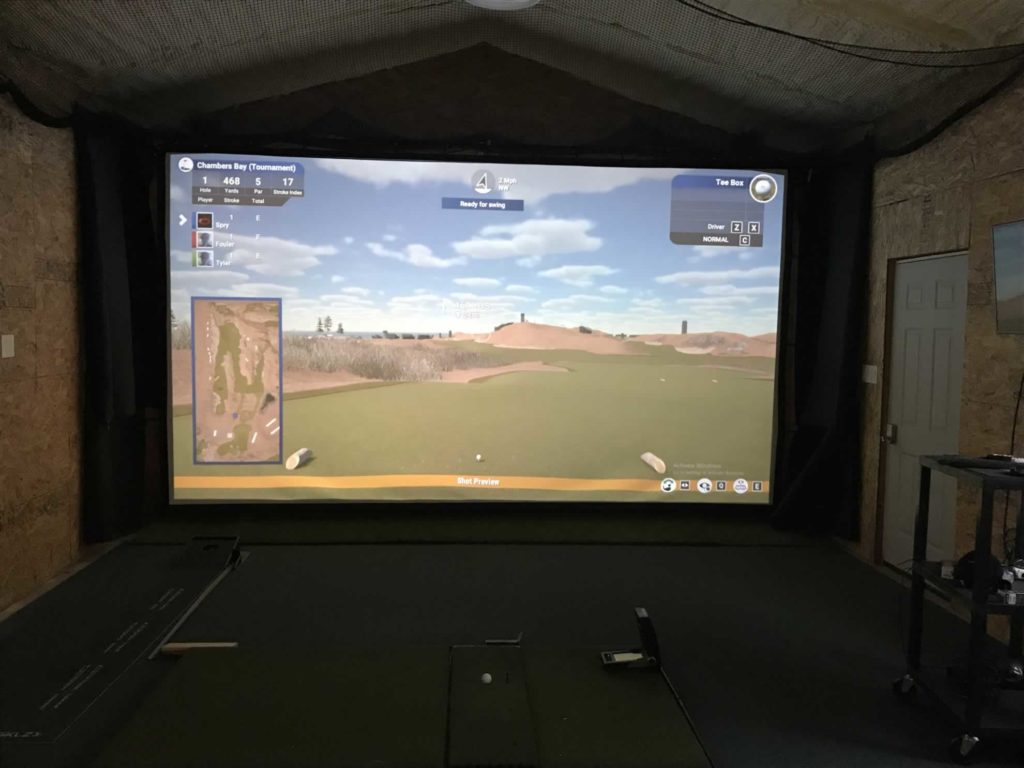
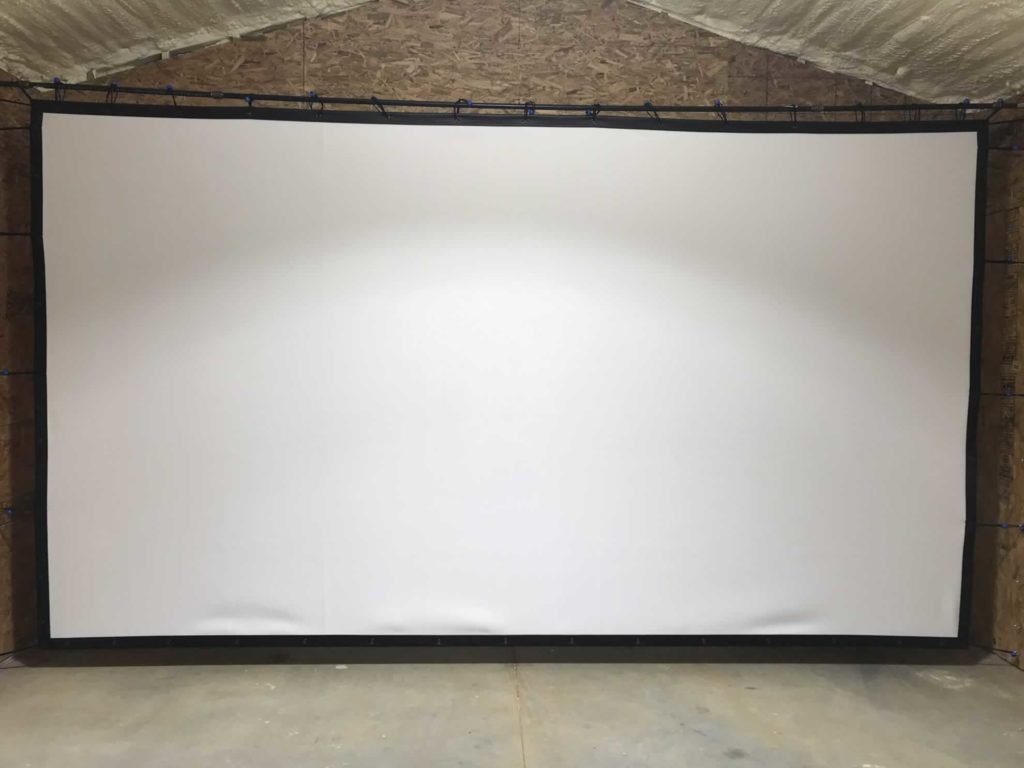
- Impact Screen: $989 – Carl’s Place 16×9 Premium (purchased from Carls)
- Projector: $799 – Optoma HDR1080p (purchased from Amazon)
- Software: $250/year – GSPro (this was in beta back then and was more or less an add on for being a member of the Simulator Golf Tour which was $60.
- Gaming PC: $1900 – custom (sourced parts from multiple pc sellers)
- Flooring: $800+400 – Nylon 36 Turf w/ padding (bought from TFD and installed by Ga Discount Flooring)
The big ticket items above cost around $12,000 in total.
You have way more launch monitor options now compared to what was available for me at the time and people have been incredibly creative in their different simulator builds (see over 100 golf sim builds at the link).
Today you can do a build out for less money with a less expensive launch monitor.
It was late 2019 when I bought these items, before the days of of Covid and the subsequent shortages of indoor golf equipment. Prices have gone up on some or all of the items above.
The GC2 launch monitor is now only available on the secondary market or certified pre-owned. When I purchased my GC2 it did not require FSX software to be purchased with the unit.
I’m putting links below that will either send you to where you can read more about the item and or buy one.
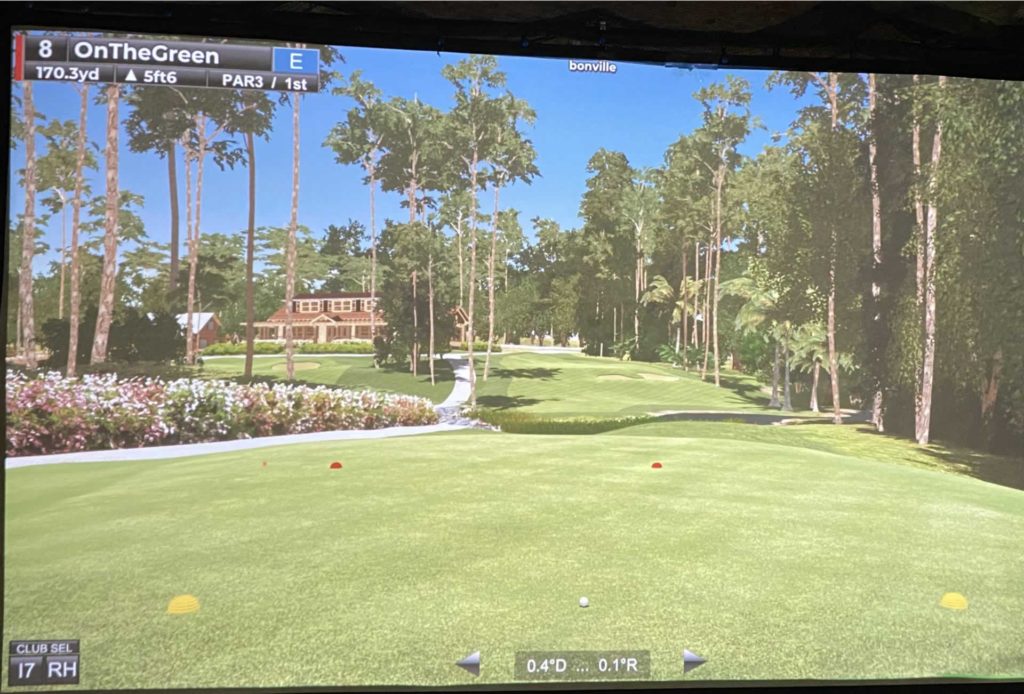
My room is 17’5 wide and about 40 feet deep. We hit into a 16×9 impact screen.

The Components I Chose For My Golf Sim
Let’s take a closer look at the pieces and parts that make up my golf sim.
Launch Monitor: Foresight GC2
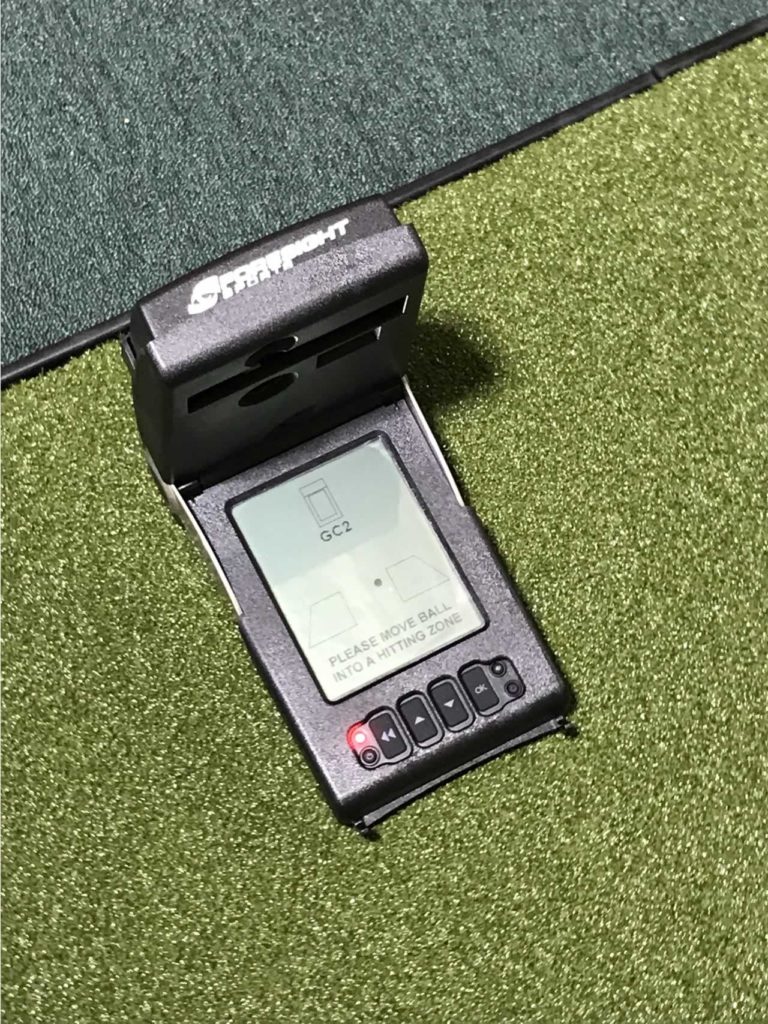
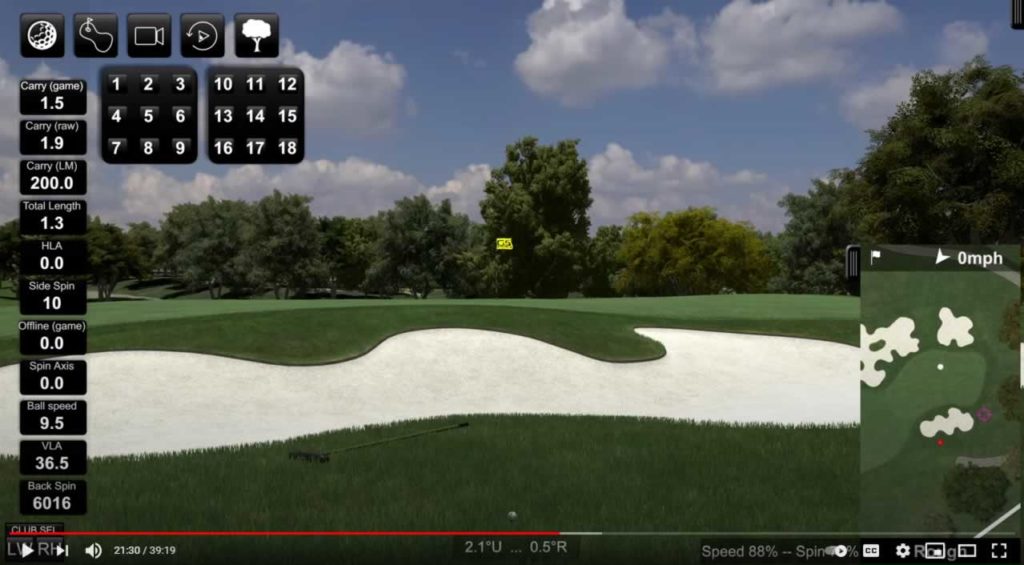
The GC2 is a fantastic launch monitor that is extremely accurate, fast, reliable and extremely high quality. It also works with 3rd party sim software, specifically GS Pro and TGC2019. (and I recommend GS Pro).
Hitting Mat: FB 4×7 Studio
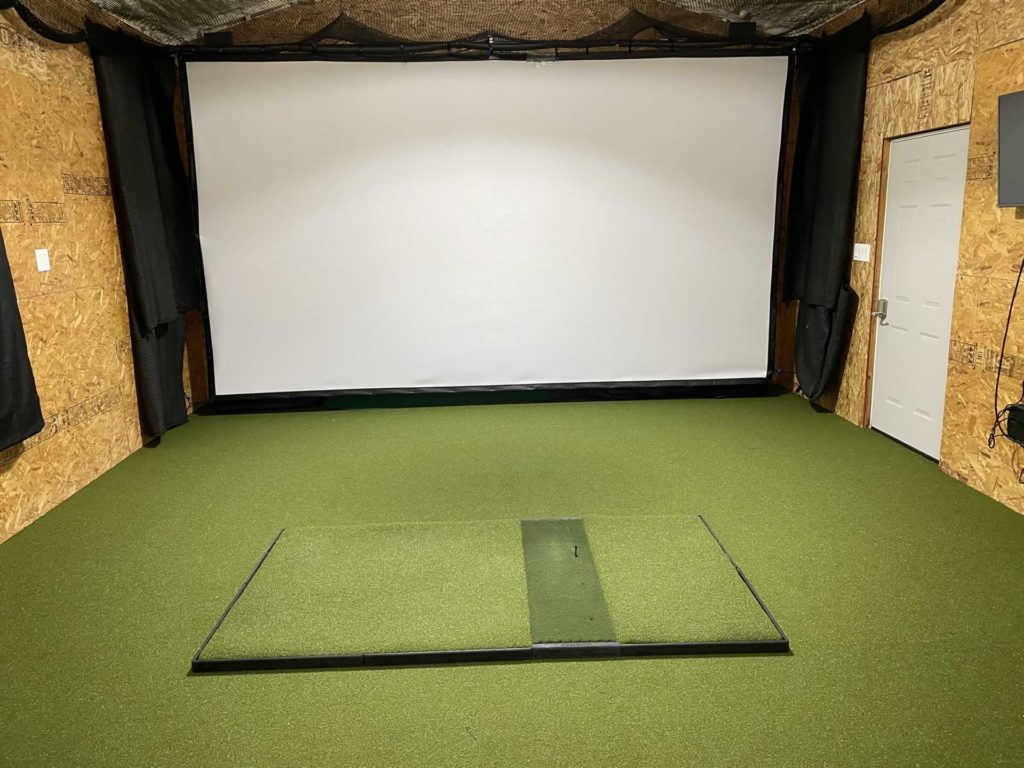
I bought this mat because of the vast amount of social proof of the quality of this mat to keep you avoiding injury. It was easy on the body. The last thing I wanted to do was develop an injury by playing in the sim. Plus the mat is great to hit off of in my opinion.
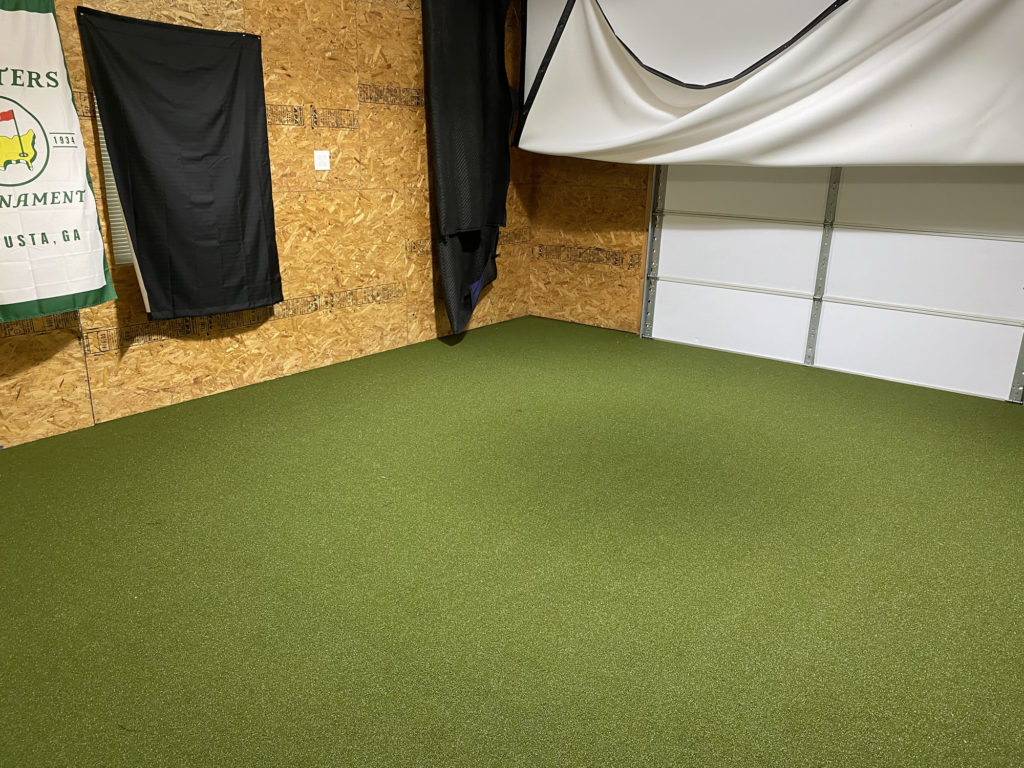
I was able to match the flooring exactly with the hitting mat, using the Nylon Turf 36 from Turf Factory Direct.
Impact Screen: Carls Premium
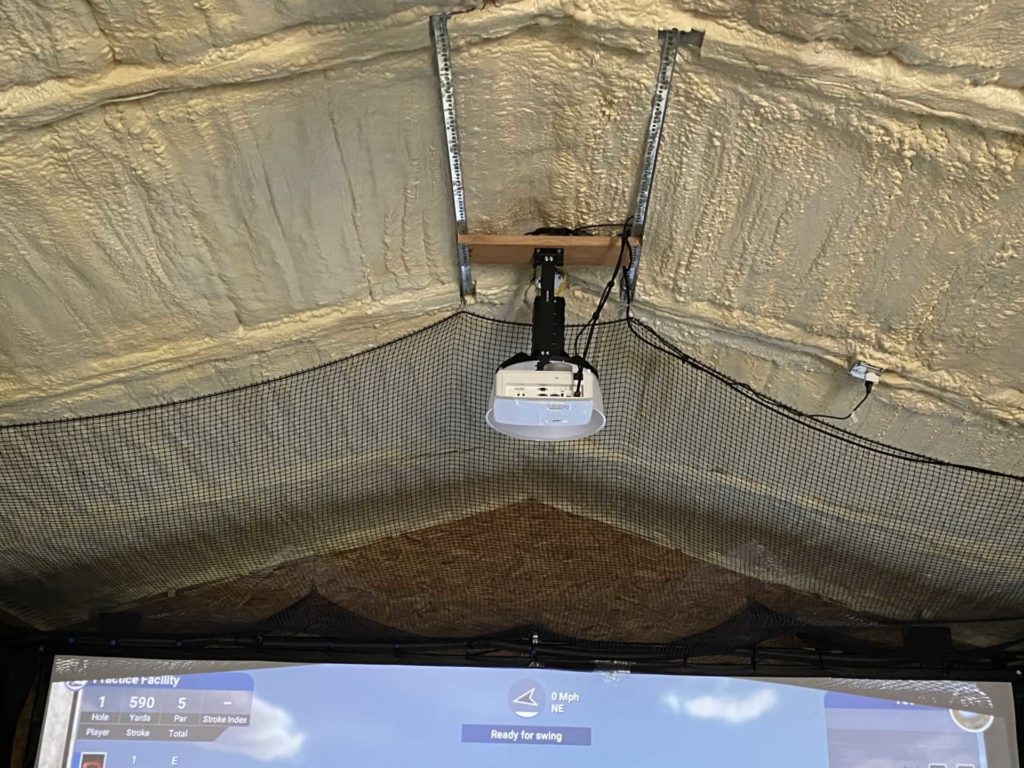
Projector Optoma GT1080HDR Short Throw
Software: GS Pro
Flooring: Nylon 36 With Padding
Accessories
- GC2 Shield: (Foresight)
- Floor Light: TENERGY (Amazon)
- Netting: Golf Netting (Amazon)
- Whiteboard aka OTG Leaderboards (Amazon)
- Ball Return Ramp Under Screen: scrap wood and a grass strip (Home Depo)
- Hitting Matt Ramp (custom 3d printed by a friend Lance)
- Mini-Split: Can’t remember, will update when I find the invoice
- Screen Enclosure Pipe: Home Depo
- Screen Ball Bungees & Eyehooks: (Amazon and HD)
- Wireless Keyboard and Mouse (Amazon or NewEgg)
- Rolling Cart (Business Partner Brad)
- TV (My old one)
- Extendable swivel TV Wall Mount (My buddy David)
- Amazon Firestick Jailbroke Style (My buddy Danny)
- Beer fridge (also my buddy David)
Room Dimensions and Details
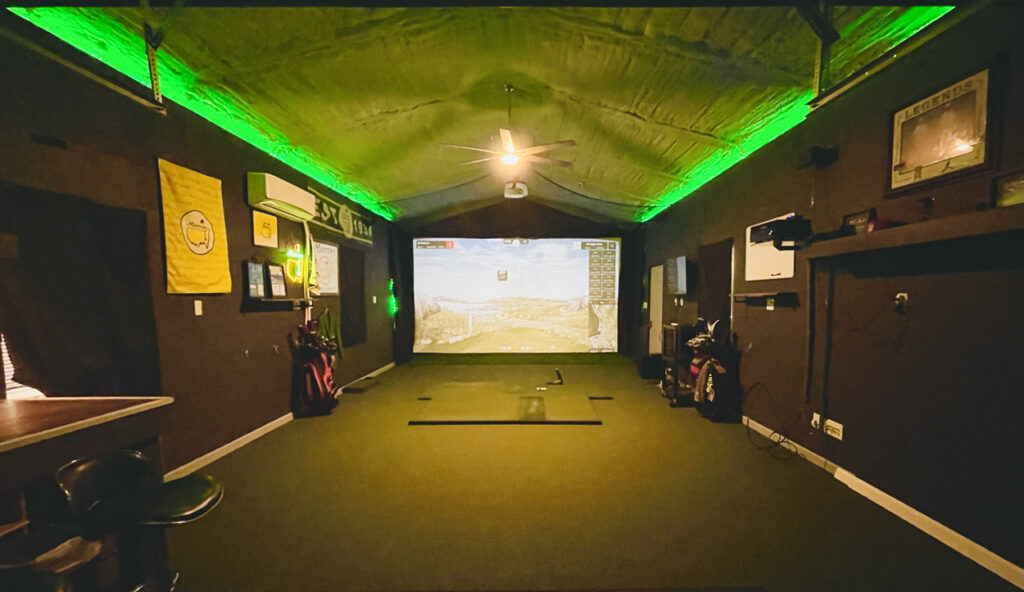
I have an outbuilding that we turned into a golf simulator.
- 17.5′ wide by 40′ long.
- Ceiling is angled up with the peak at 12′
- The walls are OSB
- Screen is hung at the far back of the building along the 17.5′ width wall.
- Screen is 16′ wide and attaches via ball bungee cords to eyelets screwed straight into the walls with a 2 foot gap between the screen and the back wall (so I can get behind there whenever necessary)
- Hitting mat sits in the center of the room and 10′ away from the screen
- Nylon 36 Turf is rolled out across the entire room.
- Projector hangs down to about 10′.
More Golf Sim Content
- Shield for the GC2 – Worth It? VIDEO
- Skytrak Yes or No?
- Do I love or hate TGC2019? Both actually
- Watch my horribly edited Birtee Golf Tee Review
- DIY Golf Simulator Setup
Just found your site today! Such a great source of information for a newbie! I am not really an avid golfer, although I do enjoy to play occasionally. My current motivation is to possibly build something for my father, as his health, along with less than optimal weather, prevent him from playing as much as he’d like to. I’ve already read the article on the budge build.
Thanks so much for sharing your knowledge in this area!