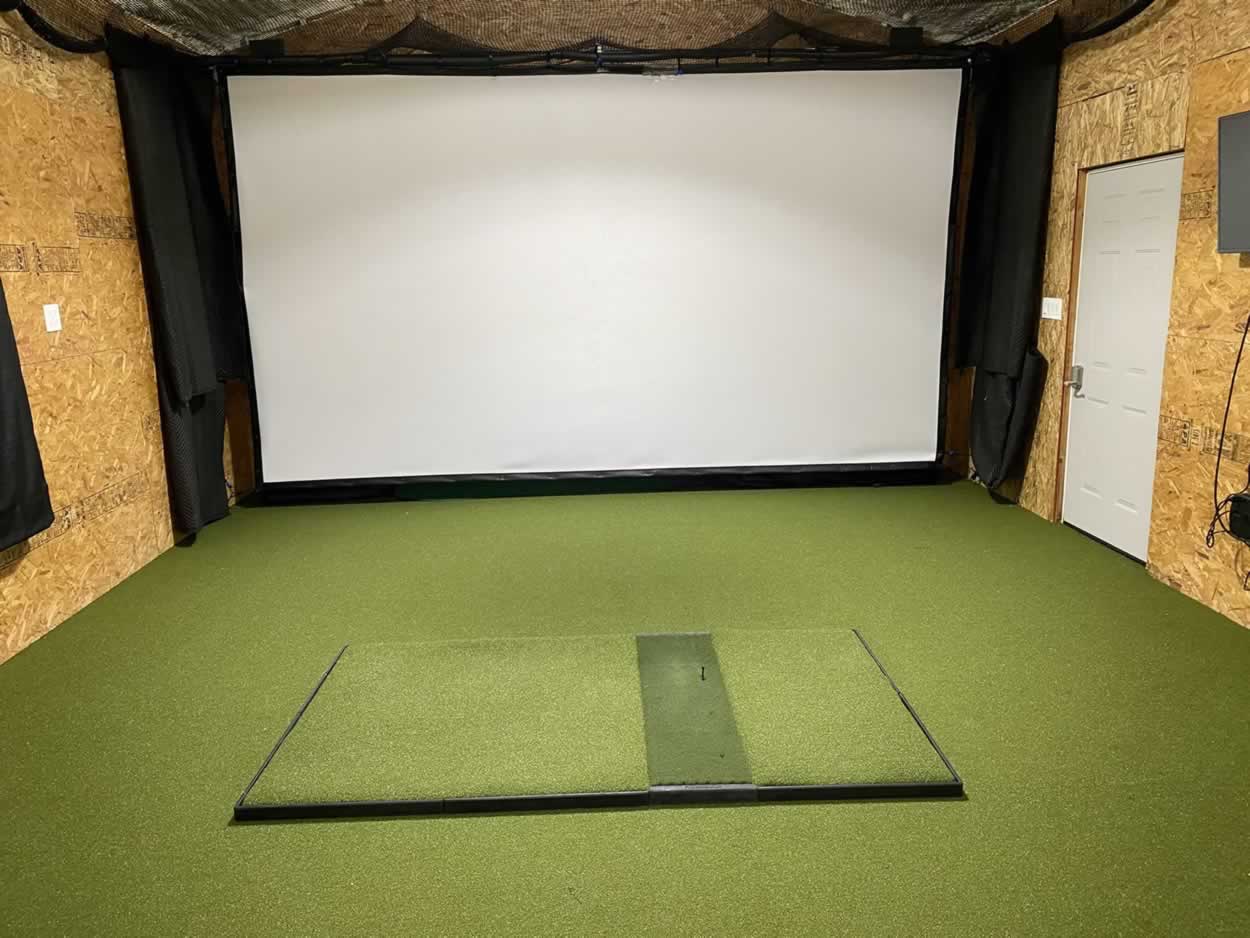
This is my two year review of my golf impact screen which is the Carls Place Premium Impact Screen.
You can check out my initial review of the golf impact screen here and also my review of the Carls Built-in golf room kit.
Take a look at the video below where I walk through the screen in more detail and you can really see what it’s like.
Quick Overview:
- Carls Place Premium Golf Impact Screen 16×9 With Grommets (classic design)
- Price: around $1000 depending on which options you choose for this size
- 1st ball hit screen in January 2020
- Hundreds of rounds played and tens of thousands of shots into the screen
- Driver speeds of 150-165 mph.
- One long hitter with 300+ carry
The Good:
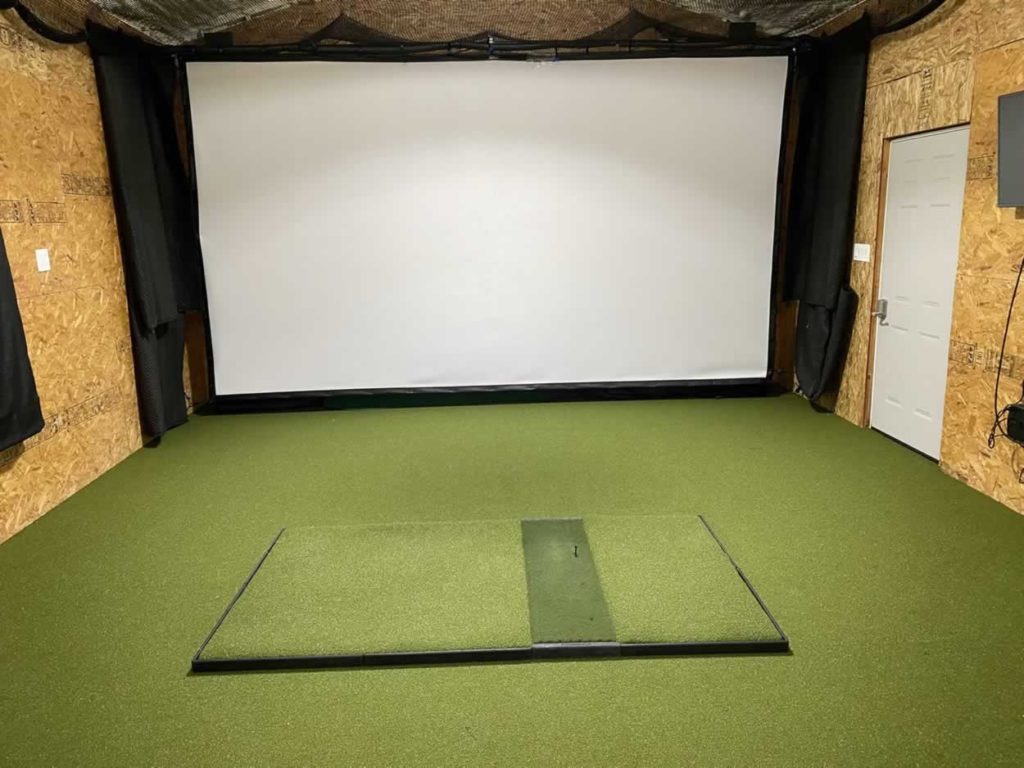
- Screen looks great 2 years in
- Images look crisp and strong – the same as the first day.
- No worn out saggy spots that look horrible when playing. (the small indentions you see on the video go away after each shot hits the screen and are not noticeable when playing)
- *No rips or frays through the screen (I did rip the bottom of the screen due to my incorrect install. I’ve since rectified and no issues, detailed below)
- Screen is ‘soft’ when balls hit it, meaning it is not loud and the bounce back is minimal
- Customer service has been top notch
My Design Install Snafu & The Resulting Rip
I did a totally ‘DIY’ build. I did not use the Carls Place enclosures they offer on their site. I probably would use them if I were doing it again.
My install flaws led to me ripping the bottom of my screen (twice).
The bottom of my screen hangs about 4-6 inches above the floor. I built a ramp out of plywood and turf that angles up to the bottom of my screen. I left the grommets and black edge of the screen exposed with the ramp coming just up to the bottom of it. This turned out to be my most major design flaw in my DIY it by the seat of my pants golf simulator install.
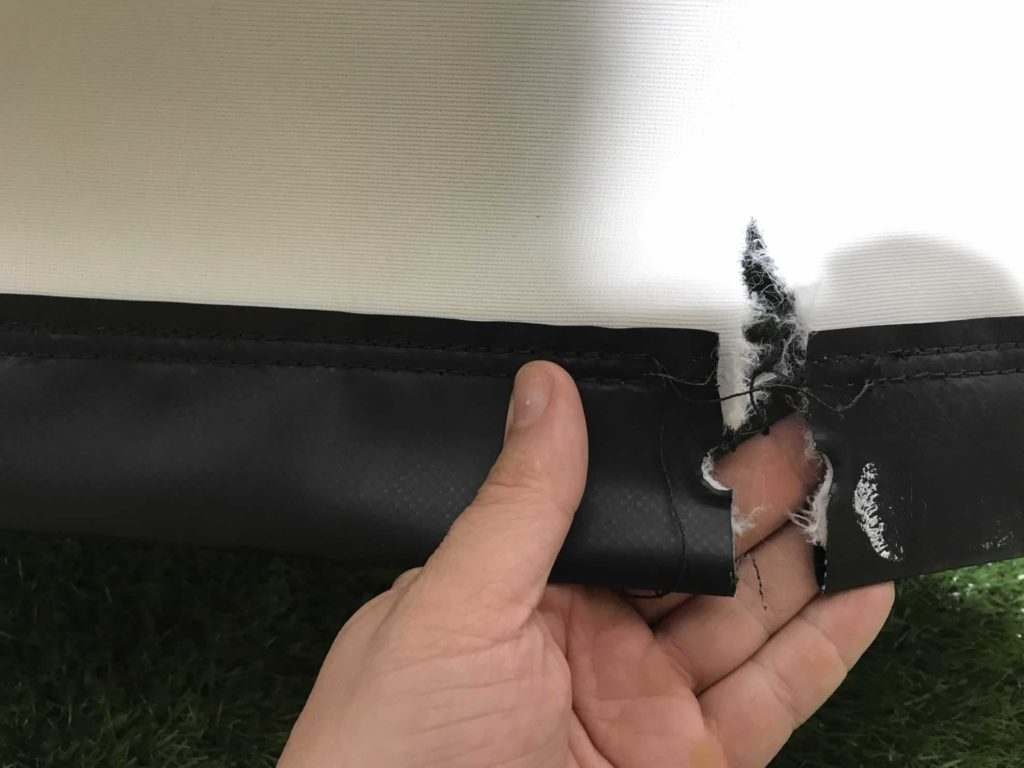
I should have not left the bottom of the screen exposed. Over time, low hit shots would smash into the bottom edge, eventually busting off some of the black edging surrounding the grommets.
With the edge already getting a little beaten up, a low line drive hit directly on a grommet and ripped straight through down to the bottom of the screen. My install flaw reared it’s ugly head. I had ripped my impact screen.
What the hell was I going to do?
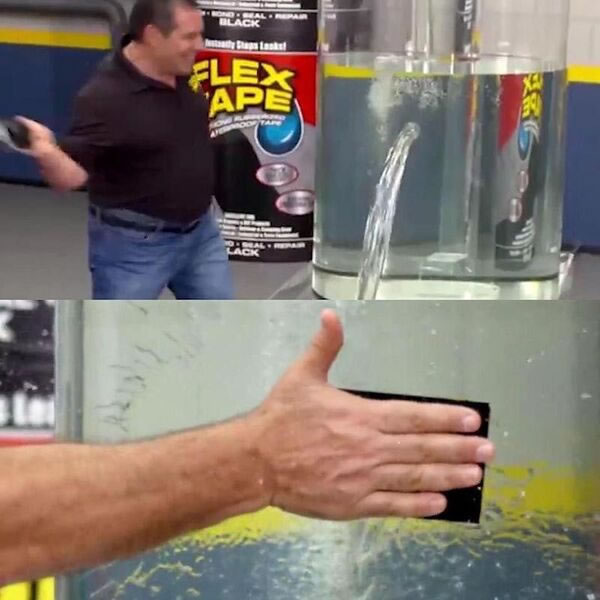
My first fix was to get the strongest tape I could find and tape everything up with multiple layers of tape. I went with some sail boat repair tape monkey strong flex seal style tapes.
Multiple layers, criss cross, up down and front to back fold overs. With a lot of layers and weaves and all the taping defensive measures I could think of.
My amazing tape job lasted for less than a round. It was worthless.
My buddy Tyler and I had to stop playing mid-round to keep from ripping the screen more and causing a serious issue.
Carls Place To The Rescue
I should have reached out to them straight away. The customer service really is fantastic. I’ve dealt with them a few times now with a question or request and they are really on top of it. Everyone I have dealt with there has been prompt and easy to work with, I feel really comfortable recommending them to you for your impact screen.
Customer service sent me a piece of the same material that I could use to sew a patch on the rip.
Well Betsy Ross I am not, but I got the strongest thread I could find on Amazon and a sewing kit. A few youtube tutorials later and some help from my business partner I was sewing a patch.
With the patch fully patched, the screen was rehung. And the ramp at it’s base was raised to completely cover the black part of the bottom edge of the screen.
Since then I’ve had no concerns of rips, tears or even overly frayed spots. The patch has held great even with direct hits.
I’m hopeful I can get another two years at least out of the screen.
2-Years Worth Of Indoor Golf Lessons Learned
- Clean Balls, Clean Clubs – I recommend just using house balls. Pro V’s Left Dash if you want premium balls. Srixon Z Stars are highly recommended. What you want is a low spin ball ball. The ‘burn marks’ on the screen come from the friction of the ball spinning when it hits the screen, not from the balls impact into the screen. The high spin balls will cause more burn spots and eventually start to eat away at the screen itself. What I do is use balls in the simulator until they get beat or marked up and then I replace them with new ones. I take the old balls to the course and play them on my recreational real life rounds. You want clean clubs because bits of dirt and sand will stain your screen as well as erode it over time.
- Protect the edges of your screen, especially the bottom. Worm burners at the bottom edge of the screen hit way harder than sand wedges into the top. Protect the bottom edge of your screen. I use a plywood ramp with some grass (turf) stapled onto it. I have a bit of left over flooring (again turf) placed in the center of my screen/ramp for extra protection as that is where 90% of shots are being hit.
- Get your tension right – not loose but not taught. You want to minimize your bounce back while keeping the screen flat for your images
- Invest in your screen if having a quality image is important to you. It’s one of the key points to a simulator along with the launch monitor, hitting mat and software.
- If you want real indoor golf lessons using your golf simulator then I highly recommend Shanky! I took lessons with Shane and he improved my swing all from the comfort of my own golf simulator and him at his home in the UK. Check him out at ShankyGolf.co.uk!
More
See my original carls place premium golf screen review here.
Visit Carls Place – they have enclosures and screens.
See my fiberbuilt hitting mat review and youtube review.
100 Golf Simulator Setups You Can Use for Inspiration
I bought an impact screen from a guy locally. He got it from Carl’s but it had a small defect. They told him to keep it and they would send him another. The screen had the bottom half of the cable in it but nothing else. First I called Carl’s to sell me the rest of the DIY at home Golf Room kit (which they wouldn’t). Next I asked them to tell me what size to frame up the wall (which they also wouldn’t). I would never, ever do business with Carl’s. If they won’t help me with something small like, they’ll never help me if something legit happens. Just for reference, I needed a launch monitor, projector, putter flooring and more. I offered to buy all of it from them if they would help me but they best they would do was to offer 5% off a Custom DIY At Home Frame Kit if I would tell them what size my room was. I tried to explain to them 4 or 5 times that I was going to frame up a wall to fit my screen but they just couldn’t understand. The guys at Shop Indoor Golf have been so available and answered a ton of questions for me. I will support them to the end of the Earth. DO NOT BUY FROM CARL’S.