
It’s hard to believe it has been five years since I first launched my simulator and hit my first shot into my brand new Carls Place Impact screen…
Here is what it looked like the day I hung the screen.
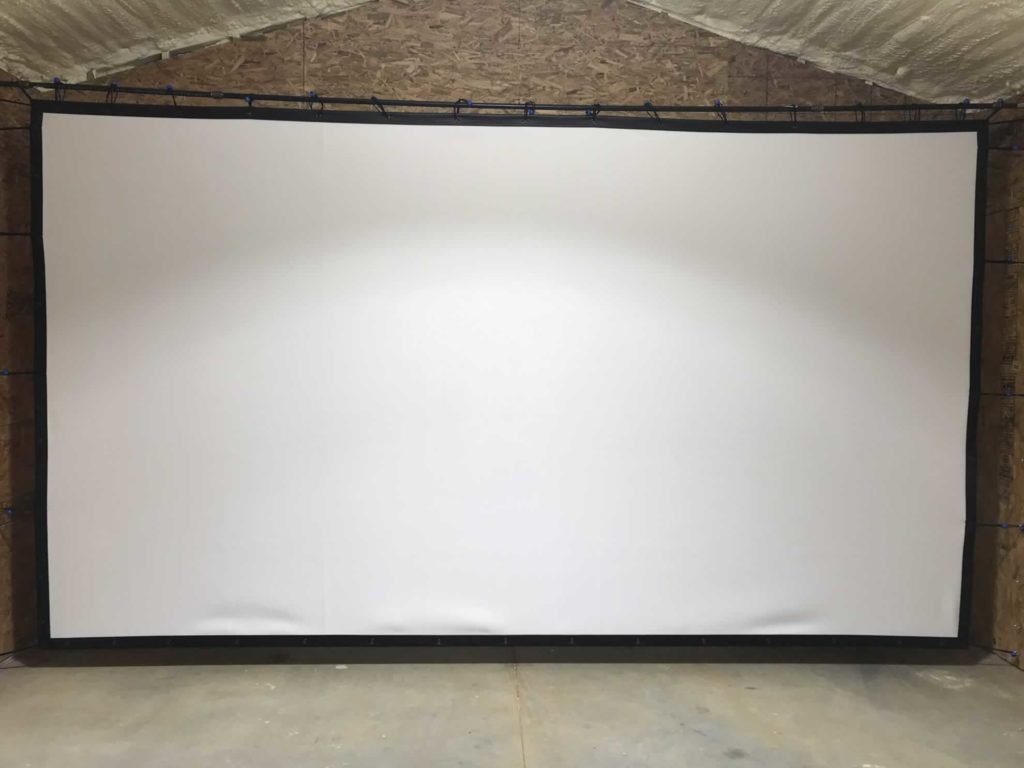
She was fresh, clean and yet to be tarnished by mistakes I made with my build.
You see, I bought my screen and just attached it to the walls with eyelets and bungee cords.
I hung a bar across the top of my arched roof to give a level area to hang bungees from so the top was level.
I ran some eyelets up and down my plywood walls and threw a bungee on there and let the bottom hang loose except at each bottom corner.
I hung some netting across the top and edges of the screen and called it a day.
I didn’t have an enclosure or a custom built out simulator room.
I DIY hacked it and I certainly made a few critical mistakes and learned some lessons along the way.
The biggest mistake I made was ripping the bottom of my screen. Twice.
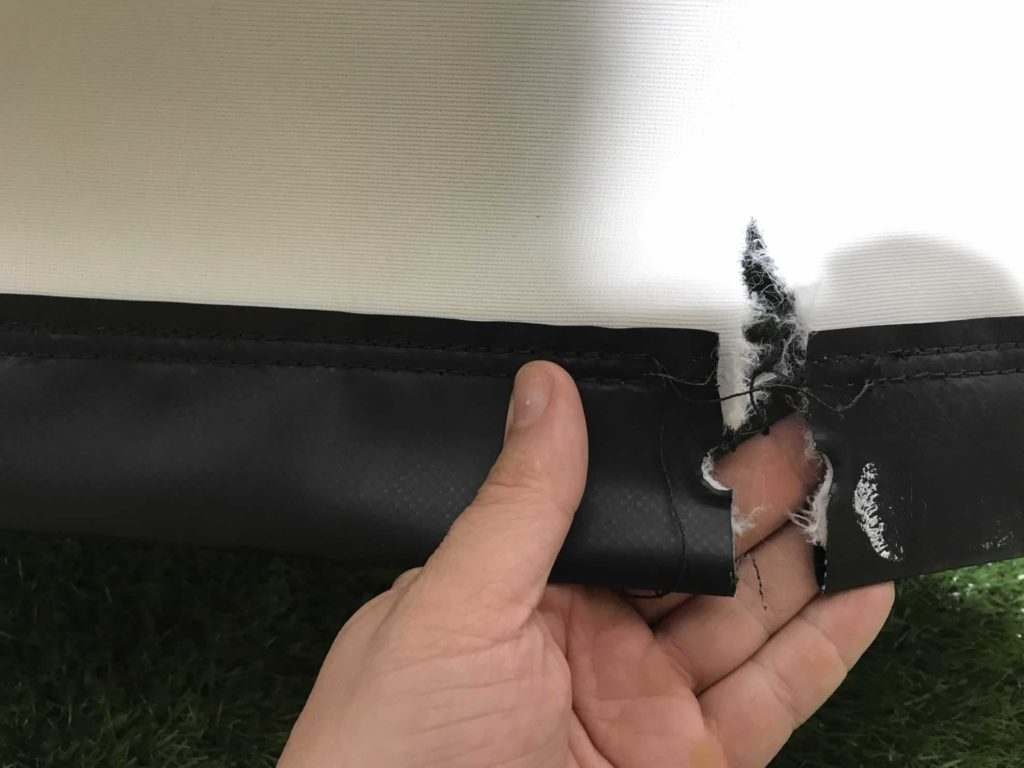
I did not protect the bottom of my screen and about 2 years in a shot hit directly on a grommet, ripping it completely through to the bottom.
I threw some heavy duty sailing repair tape on it and went back to playing. It lasted less than 10 shots.
I rotated the screen 180° moving the bottom to the top figuring I had a good few years before something like that happened again.
Literally within a month it happened again. Now I had a rip in the top and the bottom.
That didn’t stop me though, I reached out to Carls like I should have done before.
They sent me a small sample of impact screen material. I was able to cut out a patch of this material and sew it over the damaged area.
A few youtube videos on sewing and an order from amazon for a heavy duty thread and needle set and I was a sim golf playing Betsy Ross if there ever was one.
I was able to use to sew a patch on that has now held up great since then with many years of use.
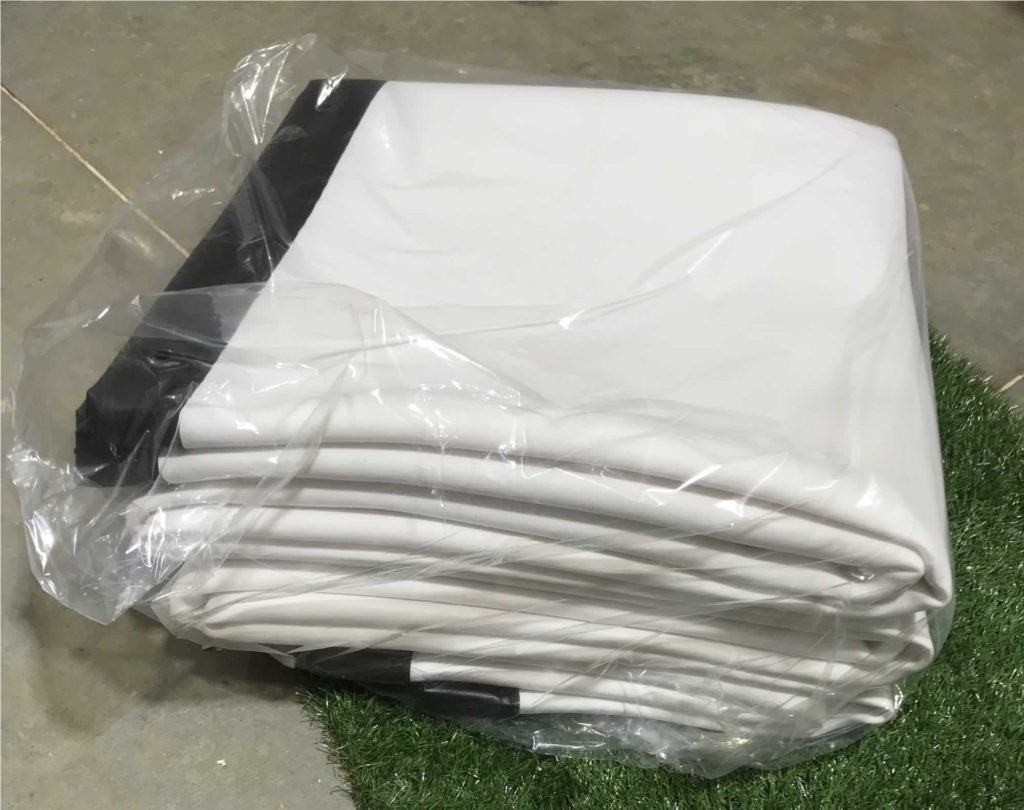
Five years later… she’s been beaten and abused but still plays great.
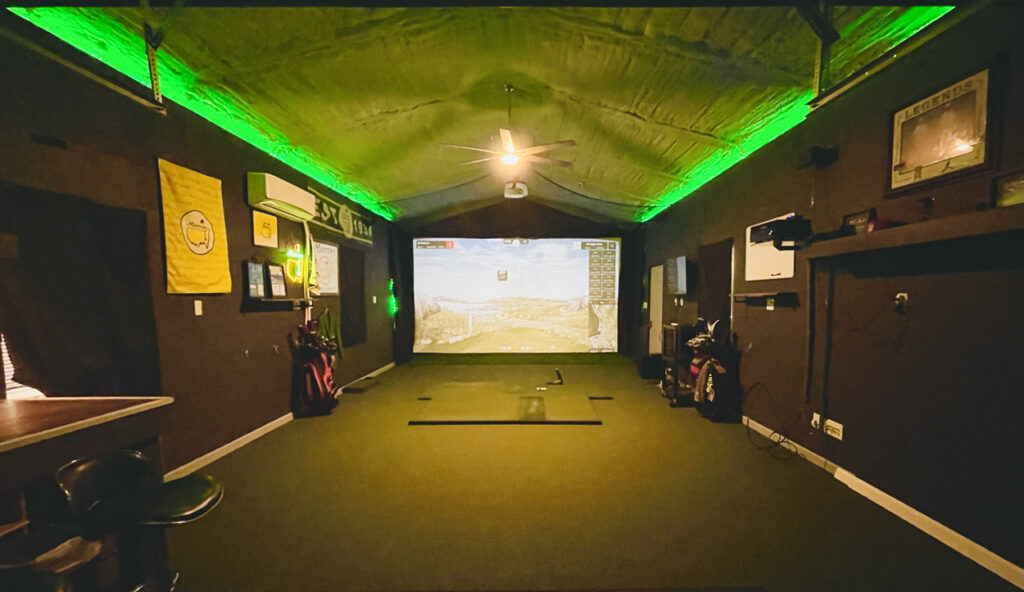
Above is my simulator in the final picture I took of her before I took everything down off the walls and listed the property for sale.
I’m building a new simulator in a new space, and going with a new impact screen. I’ll be reviewing it as well and link when published.
The Carls Premium Impact Screen 5 year Review and Final Update
I’ve been reviewing this screen for a long while now.
I did a one year review, a 2 year update, a 3 year update and now 5 year final update.
Five years later and the screen is showing some age and wear and tear… with the lights on.
With the lights off and GSPro running, the screen still looks great and virtually unnoticeable.
7 Tips To Keep Your Impact Screen Nice
As possible. You are hitting golf balls into it at 150+MPH most probably…
Here are some keys I’ve learned in the five years of using my Carls Place Premium Impact screen.
- Use clean balls only – no sharpie marks, no pen marks, no dirt, never used outside.
- Clean your clubs before hitting on the sim. You want all the dirt and grass off your clubs before hitting any shot in the simulator.
- Burn marks or friction marks are caused by high spinning balls. To minimize this you can go with low spinning golf balls. I’m buying a box of ProV1 Left Dash for use in my new simulator.
- Screen tension is a balance of tight enough to have a clean screen and loose enough to keep bounce back at a minimal level – you need less along the sides than you may think.
- Protect the bottom of the impact screen. Worm burners are the hardest and fastest mis-hits we experience in my simulator. I built a ramp made of plywood and heavy duty turf that raises up enough to cover and protect the black edge of the screen. It also sends balls rolling back towards the hitting area once they fall from the impact screen, providing a dual purpose.
- Protect the ceiling / top part of your hitting area. We hit 10′ from the screen and hard and high hit 60° will come off above the top of the screen and hit hard into our netting.
- If you do rip your screen, sewing a patch on is the only effective way to repair it that we have found.
- Somewhere around three years in we experienced our first high spin tear in the outer layer of the Carls premium impact screen. Five years later we have a large amount of them very visible with the lights on. With the lights off these rips are mostly not visible.
Keep On Reading
- 100 Golf Simulator Examples – from cheap to big money, links to it all for inspiration.
- Check my guide to the best hitting mats for golf sims.
- The overhead launch monitor offerings are heating up big-time right now with some great new additions at lower prices.
- Building a DIY golf sim on a budget can be done for less money than you might think.
- My original Carls place impact screen review