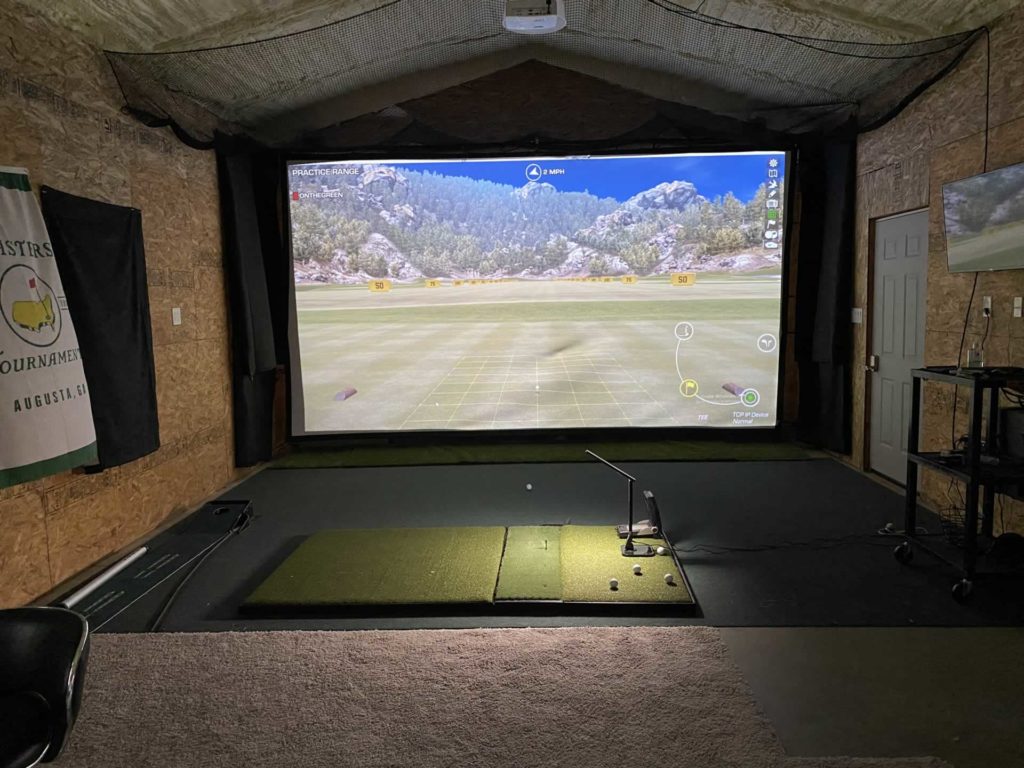
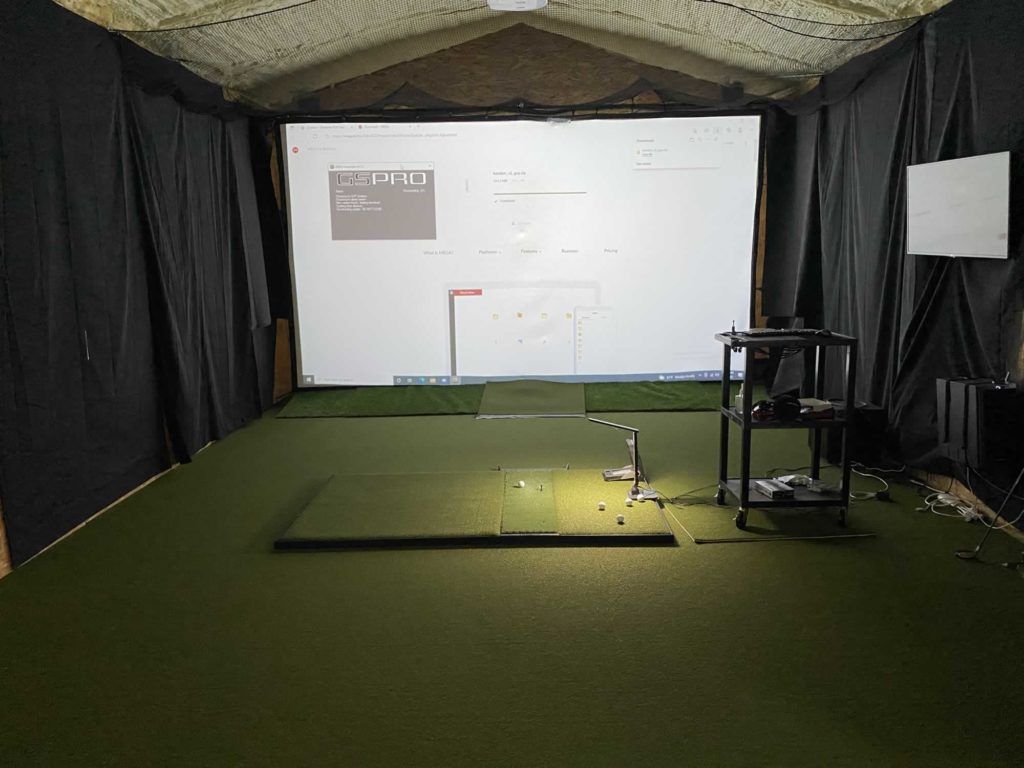
I hung my 16×9 Carls Place premium golf impact screen without an enclosure.
I’ll be honest. You are probably going to need an enclosure. Very few will have a space where we can just hang a screen and start playing golf. You are going to need some sort of wall protection for your sim.
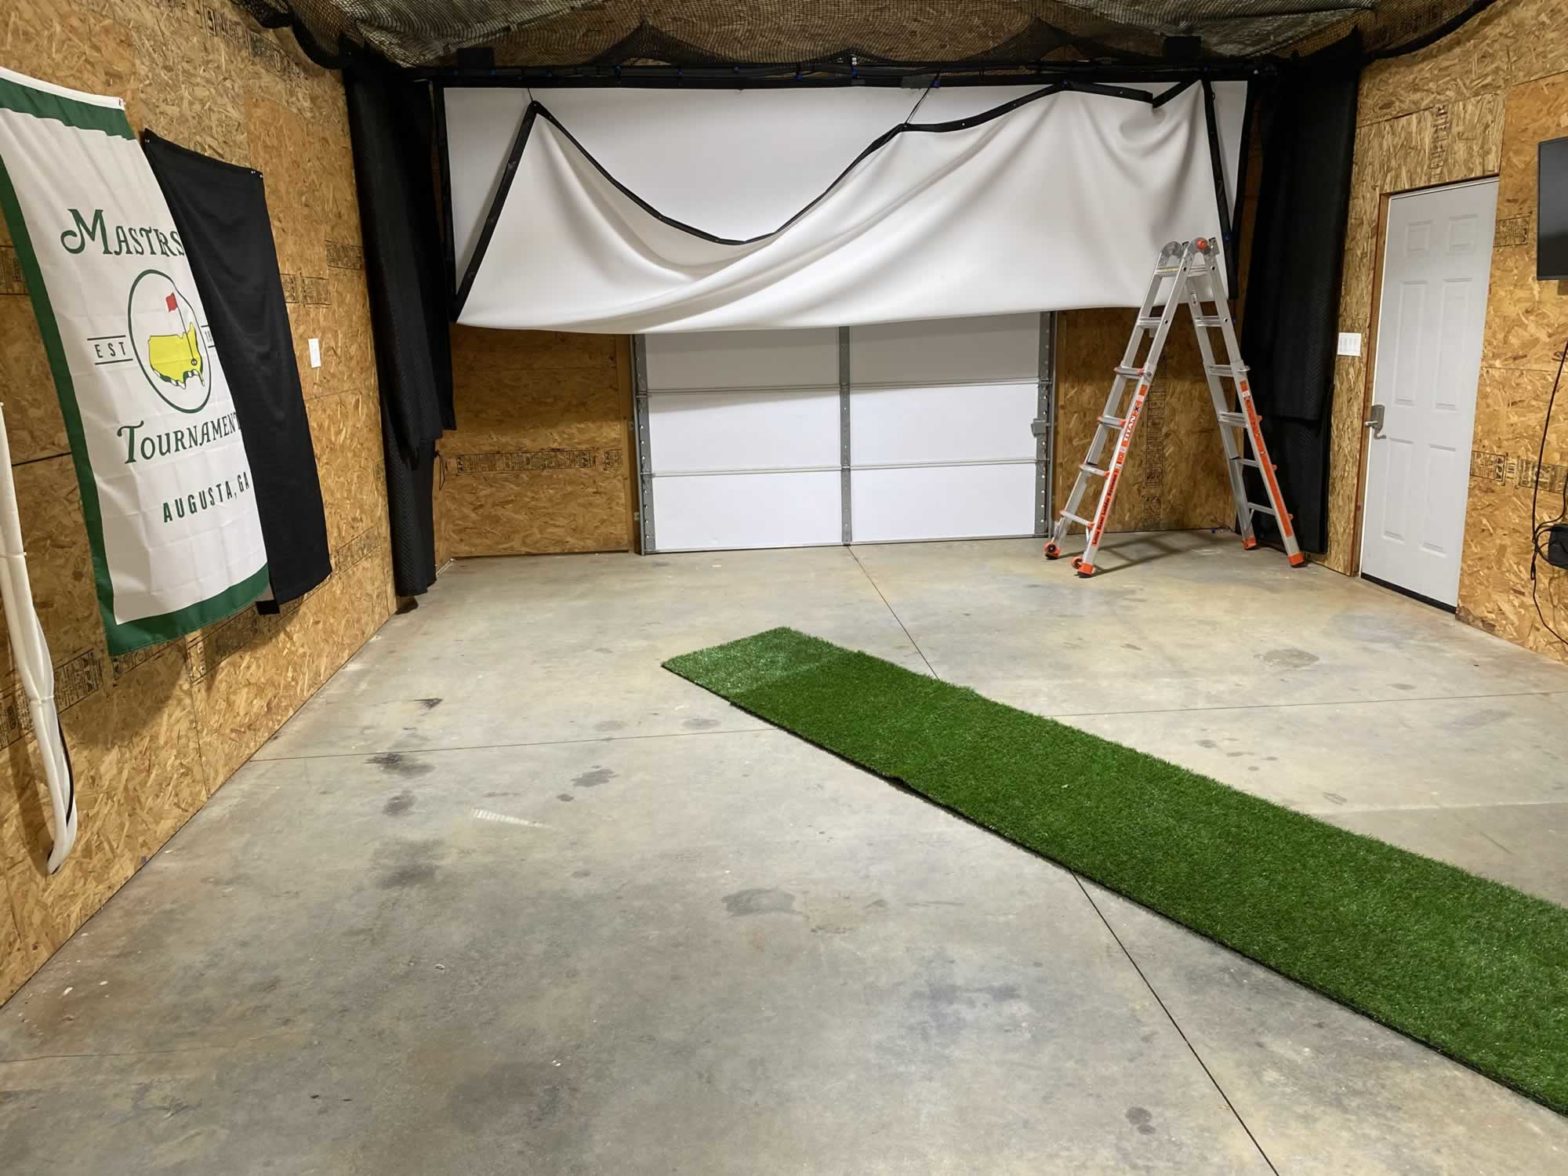
I hung my screen, I hung netting from the ceiling and added some padding to the side walls. I also added protection to my pipe that the screen hung from. So in essence I kind of built my own enclosure – and even with the netting at the top that hangs down a few feet from the ceiling some sky balls will hit the ceiling.
You probably are going to need an enclosure and if so you can see what it would cost to have Carls build it and send it to you to assemble with their build your own price calculator.


Here is how we hung our golf impact screen without an enclosure.
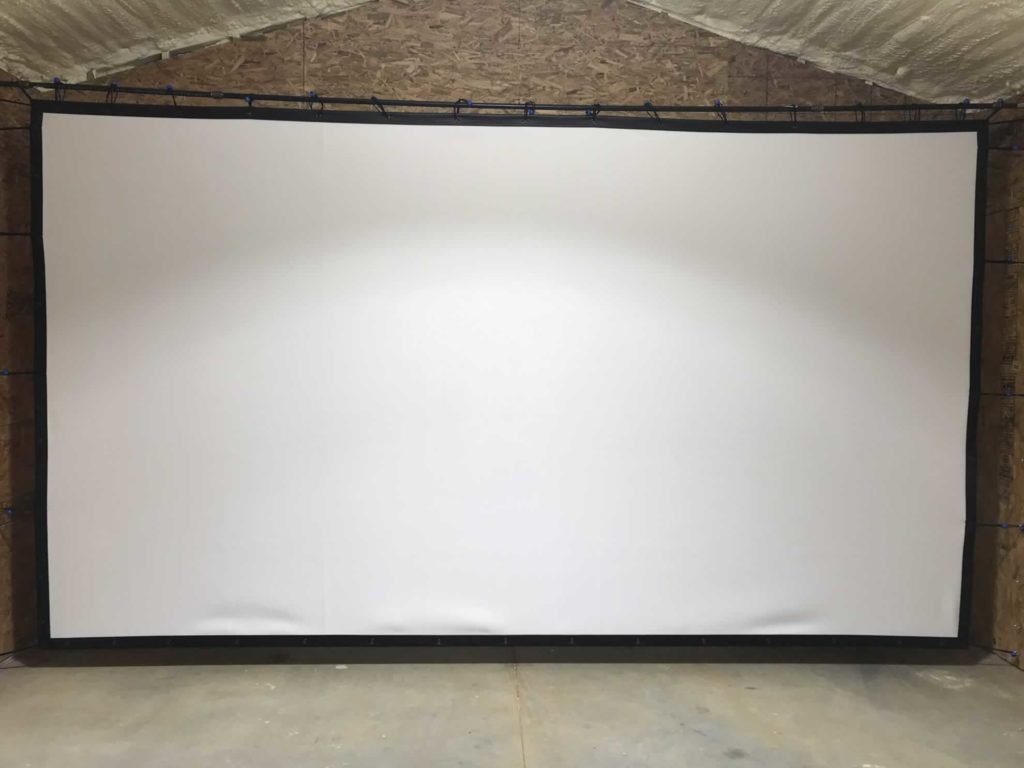
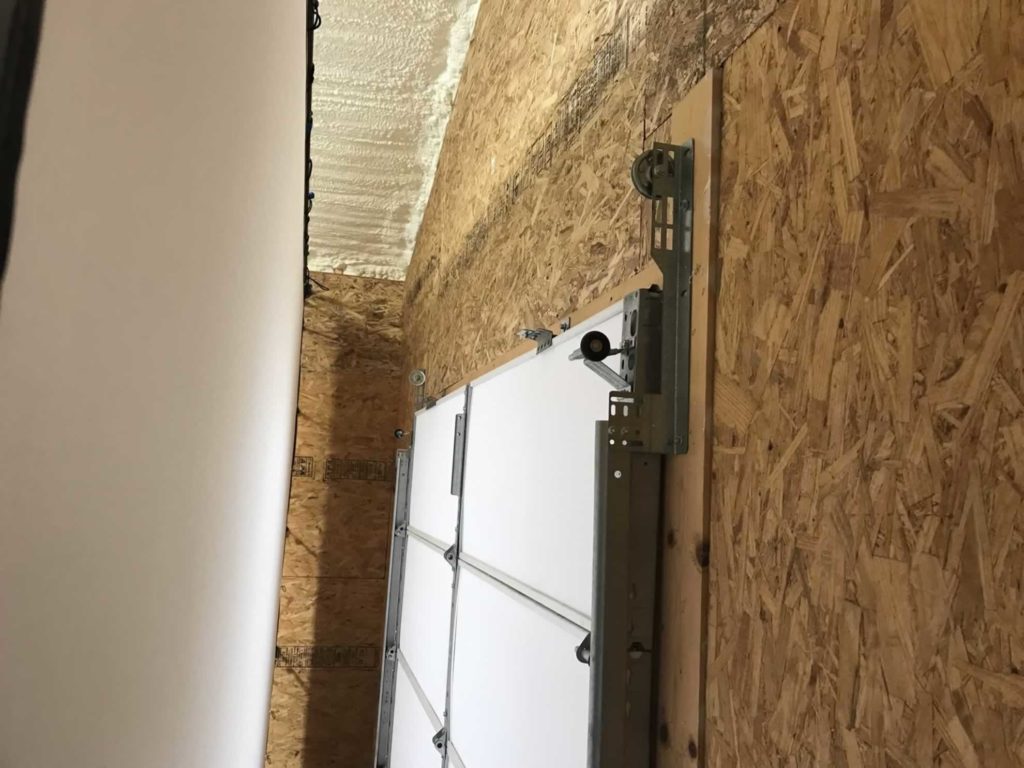
- We hung a 1/2″ Pipe from wall to wall. We used pipe brackets (something like this) to secure the carefully measured pipe into each side wall. This worked but there was a slight ‘sag’ in the middle of the screen once hung. The room is 17.5′ wide and that is the length of our pipe.
- We added an L brace in the middle of the pipe for support. We hung this from the back wall and used about a 2′ leg of the L sticking out from the wall which we then clamped the pipe to. This was to keep the screen level and get rid of the sag.
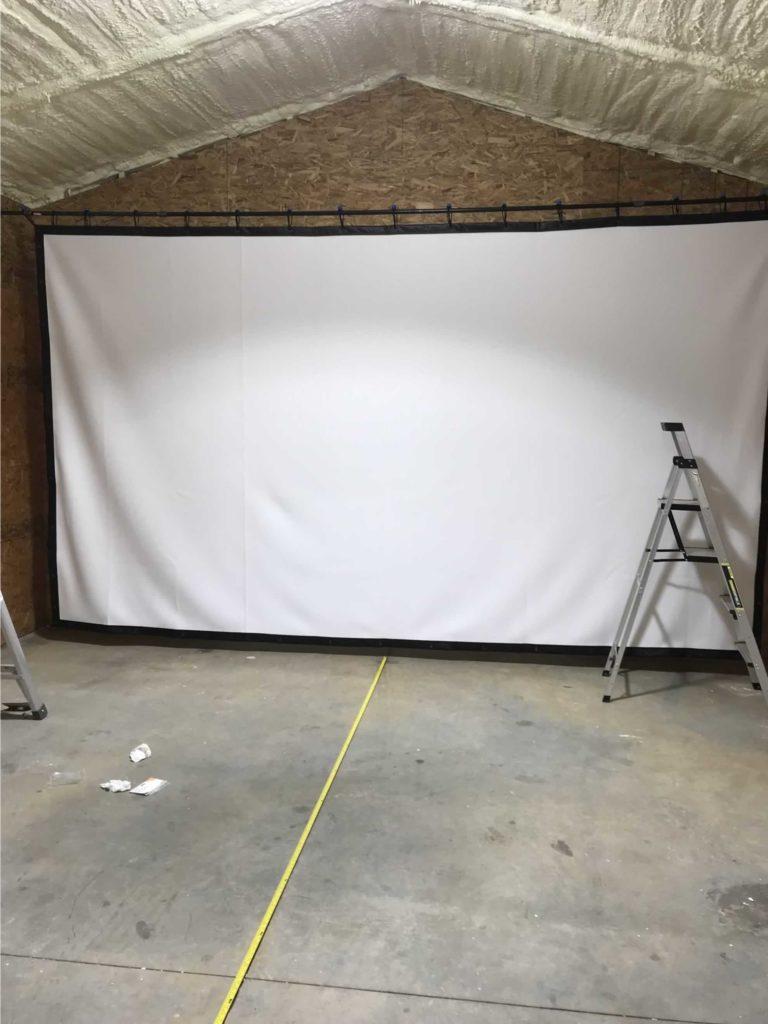
- Drilled in eyelets directly to the side walls from near the floor to near the ceiling every foot and a half or so.
- Used ball bungee cords to attach the top and sides of the screen. Wrap the bungee around the pipe at the top and through the eyelets on the sidewalls. Keep the balls on the back of the screen or on the eyelets (just not the front side of the screen).
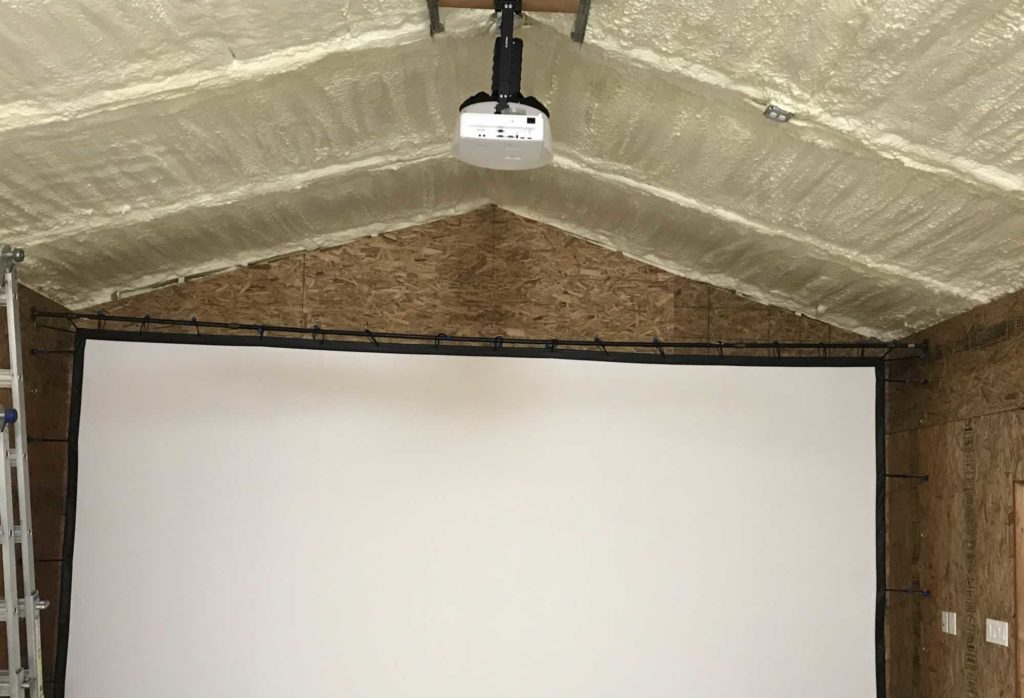
- We used archery netting for ceiling protection(Safety Netting (Just For Nets Nylon Golf High Impact Net)). I measured the distance from the sidewall to the peak in the ceiling and back to the other sidewall. Then I measured the width and added some extra both ways. We hung this from one side wall, to the ceiling, to the pipe that holds up the screen and then to over to the other side wall. The netting has had to be tightened up a few times over the lifetime of my sim (2+years) as it sagged as it wore in and blocked a tiny portion of my projector.
- The pipe itself is protected cut in half pool noodles that are wrapped around the pipe and then tied down with zip ties and bungee cords.
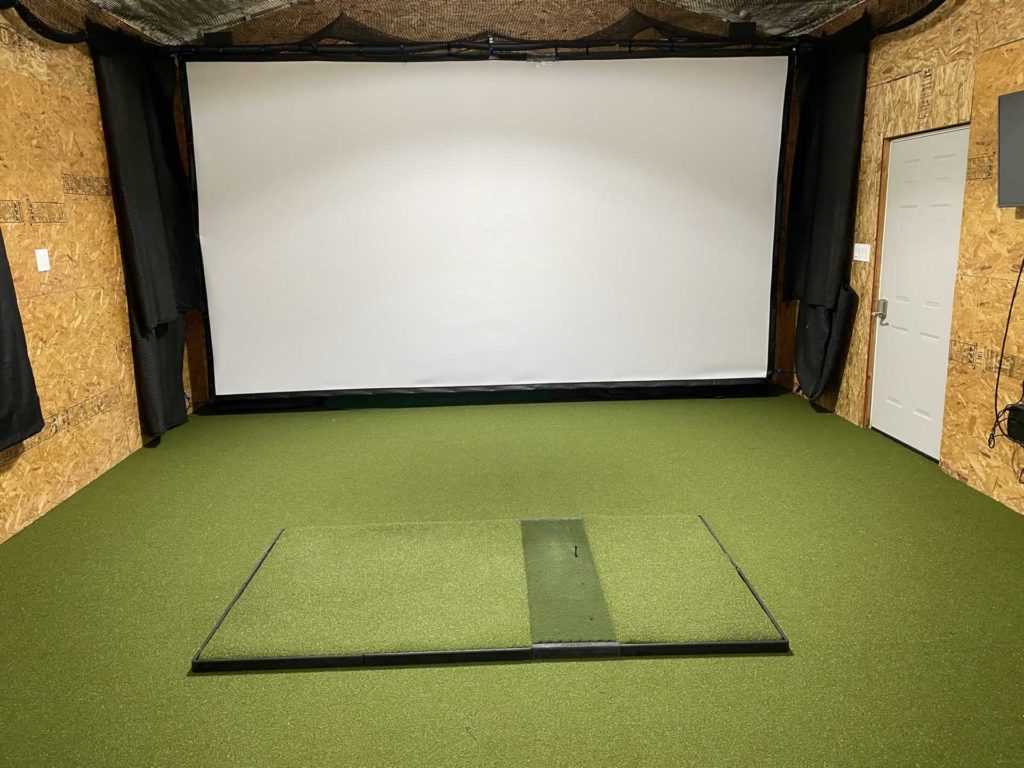
- Sidewalls are protected by some moving blankets that we hung with clips and screws into the sidewalls that hang directly on the wall. My sim is 17.5′ wide so there have only been a small handful of shots that have hit these walls (so far). If the room was smaller then this may not be quite enough protection. Your mileage may vary here.
- Bottom of screen Protection – Ramp This was the most difficult piece for us to figure out and we learned some lessons along the way. The short answer is we built a ramp that protects the bottom of the screen. I’ll go over those details below.
The DIY Ramp For Bottom of Screen
Using scrap wood we constructed a 12 -13 foot wide ramp that sits at the base of my impact screen. We simply stacked some 2×4’s on top of one another and screwed them together.
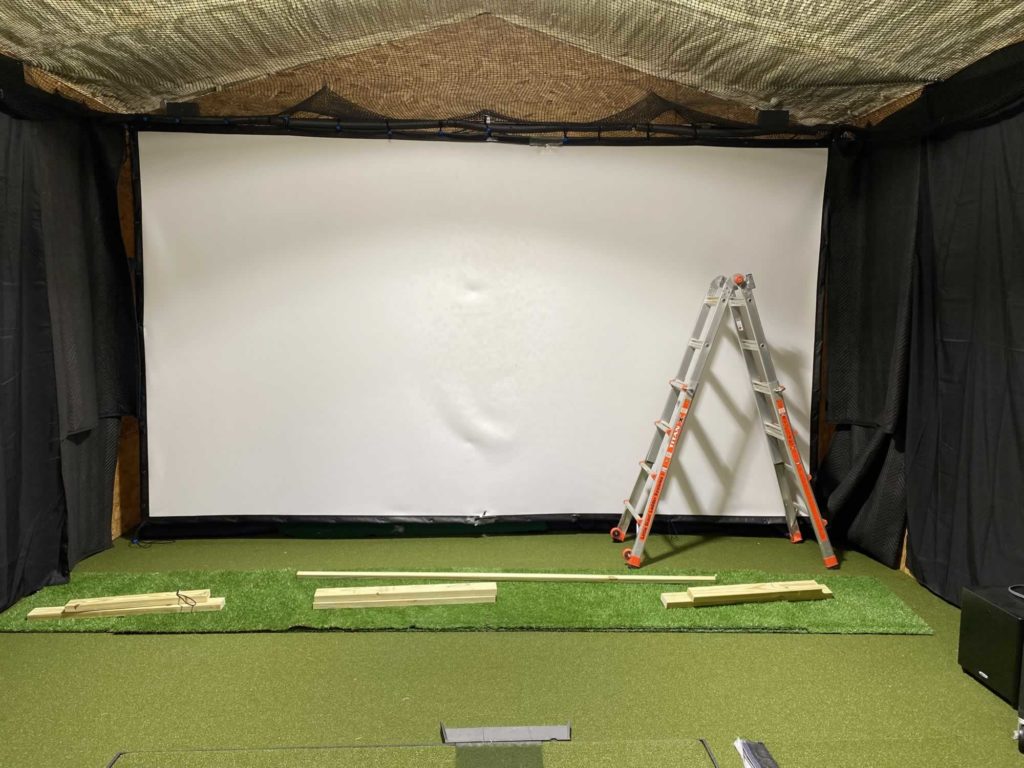
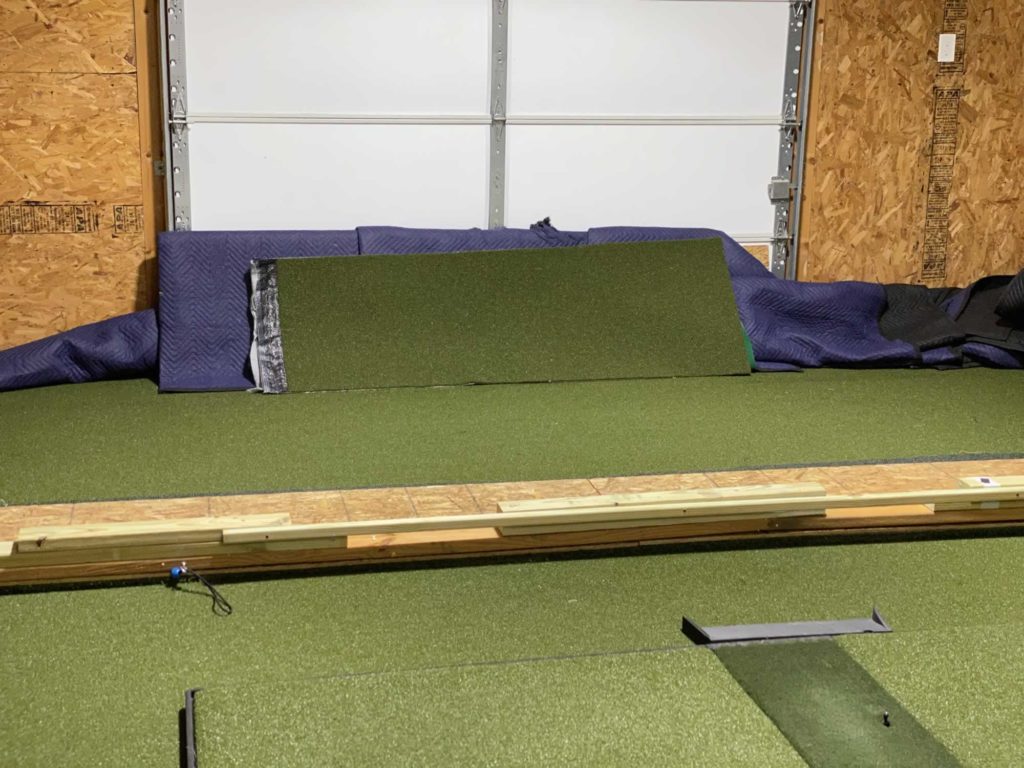
Then we laid some plywood on top of those and angled it to the floor. We screwed the plywood into the 2×4’s at an angle. We put some cheapo home depo turf on top of the plywood, adding a double layer of turf across the middle of the ramp for a bit of extra protection.
The top of the ramp should sit ABOVE the grommets and the black part of the screen. This is a lesson we learned the hard way as the original ramp was not angled up as much and we left the black part of the screen exposed (as noted in one of the pictures above). A ball ripped a hole in the base at a grommet.
We also screwed some eyelets to the underside of the ramp that we could run a bungee to. These eyelets sit about 6 feet apart from one another, each about 3 feet away from the center of the screen. We bungee the screen to the ramp there at the base. This tension keeps the balls landing on the ramp and rolling back towards the hitting zone and not getting stuck behind the ramp (some putts do end up not coming back down but that’s not a big deal).
FAQ (via an email I replied to and which sparked this post)
Hi Jason!
I’ve been reading through your website and watching your youtube videos. I really like the way you hung your screen. It looks straight and professional, without requiring the full enclosure build. I was hoping you could give me a little more detail on how it is supported:
1. Your website says – “The screen attaches directly to eyelets in the wall”. The eyelets run down the walls and the screen attaches with bungees down both sides correct?
2. The top is hung with the 1/2″ pipe that is supported off the ceiling?
2. How far from the wall is the screen? Any issues with this?
4. Are the bottom eyelets of the screen attached to anything?
Thank you for your time and all the help posted online – excited to get my garage sim going.
Thanks, Tyler
Tyler, good to hear from you. Glad you found my site helpful so far!
1. Your website says – “The screen attaches directly to eyelets in the wall”. The eyelets run down the walls and the screen attaches with bungees down both sides correct? – Yes I drilled in about 6 or so eyelets directly into my walls, up and down the wall from floor to just beneath the ceiling (to the top of the screen). The side of the screen bungee attaches to those eyelets. There is about a 6″ gap between the screen and the eyelet.
2. The top is hung with the 1/2″ pipe that is supported off the ceiling?We screwed in a pipe receptacle on both side walls, 6″ above where the top of the screen should be. The pipe was measured and cut to fit more or less exactly and be screwed in to the pipe bracket (something like this https://images.thdstatic.com/productImages/b6dc05e5-5fea-45ff-ab3d-8a4bc0eeea2f/svn/industrial-steel-grey-pipe-decor-black-pipe-365-pdmwd40-c3_600.jpg on both side walls) – then in the middle of the room we added a ‘L’ shaped support bracket to hold the middle of the pipe This L bracket was mounted on the back wall. The screen sits about 2 feet away from the back wall so the ‘L bracket’ had about a 2 foot length of one of the legs coming out to support the pipe that holds the screen. We clamped the pipe to this l bracket for support in the middle.
3. The screen sits 2 feet from the back wall. Just enough to get back there if needed. This has worked great. Do not even need this much space honestly, 1 foot would do.
4. The bottom eyelets are mostly not attached to anything, except the bottom corners are attached to the side wall via long bungee. Also I bungee’d two eyelets (both off center about 3 feet from center ) to the ramp that sits on the floor. This was to keep the screen tight enough to the ramp so it would send balls back down the ramp and towards the hitting zone instead of falling behind the ramp and getting stuck there.
I’ll try and get up there and shoot some more videos answering some of these questions as well!
Thx man and good luck with you SIM install, hit me up with any other questions
Jason
onthegreen.golf
Jason,
Awesome stuff man, very clear and easy to follow. I just wanted to follow up on the ramp at the bottom- can you tell me what ramp this is and if you bought something off the shelf or made something?
Thanks! Tyler
Hey Tyler!
The ramp is a home-made diy quickie… stacked scrap 2×4’s on top of each other and screwed them together to form the base of the high end of the ramp. Then I laid/leand some half sheets of plywood on top of the 2×4’s at one end and let the rest fall down to the ground forming a ramp with about a 30 degree angle. I screwed the plywood into the 2×4 scrap wood.
The ramp is 2.5′ long I believe (width of a half sheet of plywood). the base of the ramp sits on the turf and top of the ramp sits up next to the screen, about 8″ up off the ground. It runs the length of my screen across the bottom (just about the length, probably miss a foot from each side). Its’ purpose is to protect the bottom of my screen (learned the hard way as I ripped it). The ramp covers the bottom edging / grommets from low hit shots. Plus it sends the ball rolling back towards the hitting zone. I had to add bungees on the bottom to keep it attached to the ramp enough to keep balls from falling behind the ramp and having to go get them. If you get the tension correct you will have hardly any balls get stuck behind the ramp and all sent back towards you.
I put some cheapo home depo grass turf roll on this screwed into the plywood. I had a little left over turf that i use in the middle / hitting zone for a little extra protection on the ramp for low worm burners. The ramp was def a frankenstein home made build (as most of my simulator was).
Related Reading
- My Golf Simulator Parts List
- Carls Place Premium Screen Review
- Gungho Golf’s DIY Enclosure Blueprint
- DIY Golf Simulator Guide for Your Garage
How do you protect the left and right edges of the sim from errant balls sent into the corners? Trying to mentally troubleshoot this aspect of my design.