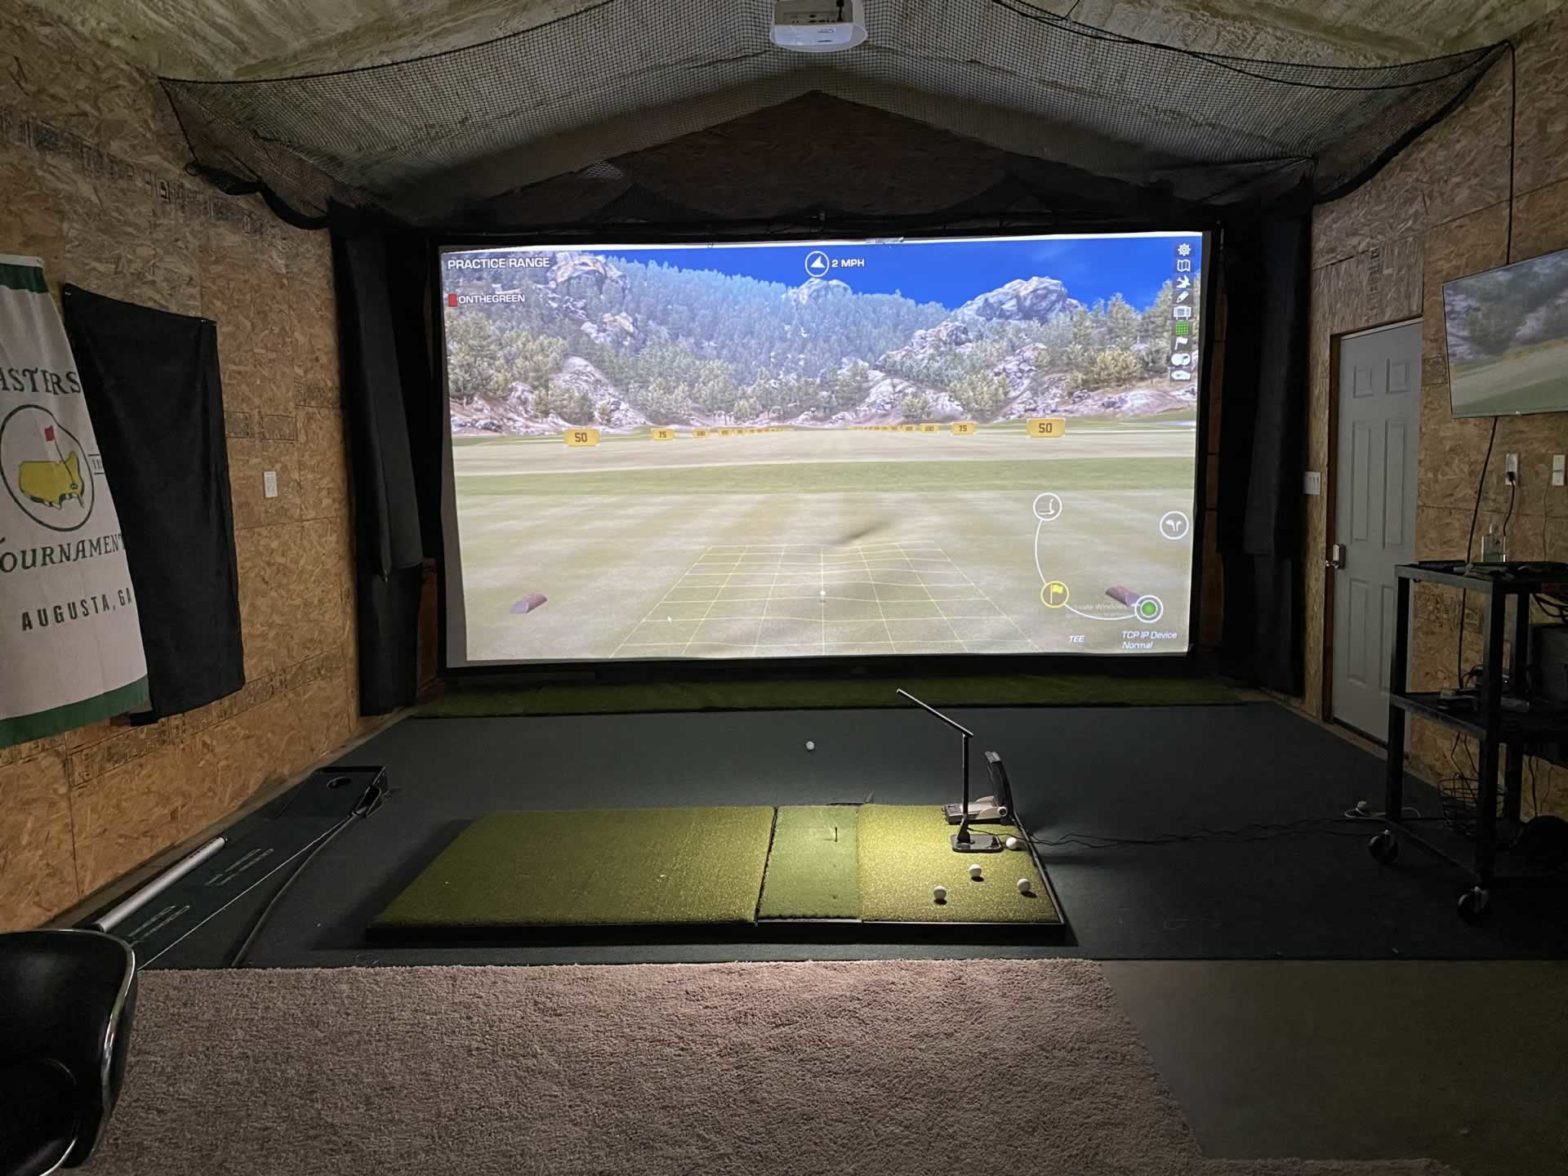
Good news golfers, simulators have gotten way more affordable within just the last couple years.
While most things have gone up in price, building a golf simulator has gotten cheaper than back in 2019 when I first built mine here at OnTheGreen headquarters. Today you can get an nearly entire setup for what I paid for my GC2 Launch Monitor.
My goal with this guide is to build the most budget friendly golf simulator that works with GSPro (I am going to go as cheap as possible while still getting the best bang for my buck. I will list the the components with the cheapest solution out there and the budget upgrade options. I’ll list the upgrade choices you can choose if you have the budget for it.
Essentially I want to find a happy medium between:
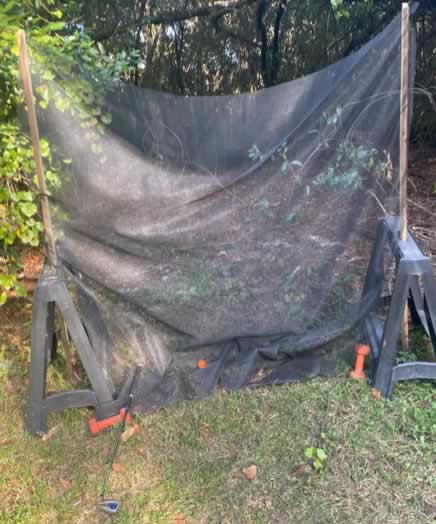
To:
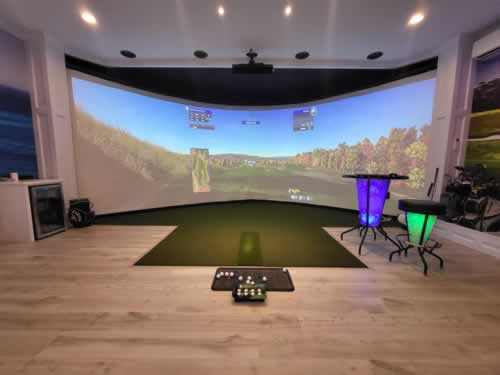
Let’s find something on the happy medium where we look at budget options but are going to be building our sim DIY style and piece by piece.
Five Essentials To Play Sim Golf
You are going to need five main things to play simulator golf.
- Something to hit the golf ball off of – your hitting mat.
- Something to hit the golf ball into – your impact screen or net.
- Something to read the golf shot and transmit the information – your launch monitor.
- A computer and software to let you play simulator golf – your computer and GSPro
- A way to see your shot – your monitor or projector.
I am going to focus on the first three essentials. Specifically we will cover your hitting mat options, your impact screen or net, and launch monitor. Those things that are specific to playing sim golf.
I am not going to cover your computer or projector as that is such a wide range of options that other resources will cover it better than me.
This guide will assume you have a few things like golf clubs and balls.
Hitting Mat – Something to Hit From
Since we are staying a low price as reasonably possible, we are not going to consider injury prevention, longevity and durability so much in our selections. If injury prevention is paramount, I highly suggest the Fiberbuilt Grass Series mats. They are not cheap at all though, so for this guide we are going to look at our best alternatives.
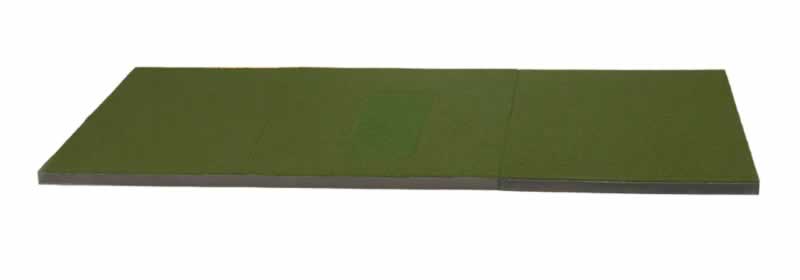
Where You Hit From – Budget Friendly Options
You can keep it as simple as buy a some cheap turf from home depo or amazon and put some padding underneath, but I do not recommend it.
I recommend investing in your hitting strip specifically. You can cheap out on your stance mat if you must, but I would get a decent hitting strip. If you need to save as much cash as possible, get a good hitting strip and figure out a cheap solution for your stance area.
A lot of people use these specific golf interlocking gym tiles from Carls Place or checking amazon and seeing what interlocking gym tiles you can find there. Then find some turf to put over the top of it. Then I would cut out a spot to drop in a hitting strip insert that would fit one of the Carls Place basic hitting strip. It gets the job done and lets you start swinging.
In my simulator I went with the Fiberbuilt 4×7 grass series and it has been an absolute workhorse and I recommend it if you are a buy once, cry once type of shopper like myself.
Let’s break a list of items you can choose from for your hitting area.
Discount but Decent Hitting Mats
- Carls HotShot Mat $534 – You should buy this mat if you are looking for a high quality hitting mat setup at the lower end price point. I have one of these mats in my simulator to test against the Fiberbuilt. I really like these for a high quality hitting mat with replaceable hitting strips.
- SigPro Softy @ $999 – while not cheap, it is a discount over the competing Fiberbuilt option and one of the most highly reviewed mats across the sim golf community. Replaceable hitting strips and multiple size options to choose from on the SIGPRO series mats.
- Fairway Series – $549 for the 5×5 hitting mat. Good reviews and regarded as good quality, although you will likely need to adhere this to the ground.
- Big Moss High Impact $349 – 4×5 all in one hitting mat. Can use inside or out. It’s one of the better less expensive all in one options.
- Quattro Mat – $399. Been reviewed by community members and are fairly positive reviews. For the price it seems a very decent choice.
- Amazon Budget Hitting Mats – $100+ I can’t recommend any of these directly, but they are WAY cheaper options than the higher quality ones listed above if you truly do not care about what you are hitting off of.
Hitting Mat Accessories and Options
- Interlocking tiles to build the base of the floor – the size of your space will determine your cost and if you do your entire floor. You can do just a stance mat and rig up a way to hold a hitting strip in place next to it. Or you can get around a 4×6 width space with foam tiles and turf on top of it.
- Hitting Strips – I would go with the Carls budget option at around $35. The truth is, is that you need a decent hitting strip it can make a big difference.
- Turf – YMMV here but you can search Home Depo, Lowes, Turf Factory Direct and Sim Turf Shop for turf if you want it.
Additional options are to just buy a hitting mat and place it on top of whatever surface your space is going to be built in.
When you are looking at your budget, make sure you allocate enough of it to whatever you hit off of. It is a very important piece of the puzzle. Some recommended turfs include Turf Factory Direct Nylon 36, and their putting elite turf.
Hitting Mat Things To Consider – Go Cheap Here or Invest More?
In general the hitting area is a pretty key component of the sim golf puzzle. I think most would be well served to make a decent budget allocation for this part of your build.
The hitting strip itself is the most important piece. It is where the club and ball connect. Technically you can stand on damn near whatever you want, even bare ground or concrete and swing a golf club, but you certainly do not want to try and hit shots off of your concrete floors with your 7 iron. If you are pushing your budget to the max and need to trim some fat, figure out a solution where you can hit off of a hitting strip that is replaceable and if you choose later to be upgradeable.
- Where you stand = cheap
- Where you hit the ball = invest
A lot of people have cut in a space for a hitting strip with turf laid on top of interlocking gym tiles. You can see examples by clicking through on the 100 golf simulator builds you can look at for inspiration.
If you need to, go cheap on your stance area and put the money into the hitting strip.
Best Budget Launch Monitors – Read The Shot
Your setup and physical dimensions of your simulator space will dictate your flexibility in choosing your launch monitor. For indoor use, the photometric (camera) solutions are usually superior to radar based launch monitors.
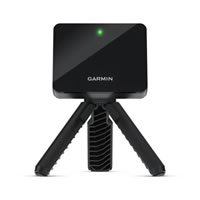
The launch monitor is where the overall price of a simulator has came down substantially in the last couple of years. And launch monitors were previously the most expensive piece of the puzzle.
See my full launch monitor list here updated with today’s launch monitor offerings with some new low cost choices that are excellent!
| Least Expensive Launch Monitors | Est. Price | Technology | Placement | More |
| Garmin R10 | $399 | Radar | Behind | discord |
| Square Golf LM | $699 | Camera | Beside | discord |
| Rapsodo MLM2PRO | $699 | Radar + Camera | Behind | discord |
| Skytrak | $795 | Camera | Beside | discord, review |
| Uneekor Core Mini *amazon only special | *$999 (limited time) | Camera | Beside | |
| Mevo+ 2023 | $1099 | Radar | Behind | discord |
| *Skytrak + | $1995 | Camera | Beside | discord |
| Bushnell Launch Pro *ball data only | $2499 | Camera | Beside | discord |
| Uneekor Eye Mini Lite | $1999 | Camera | Beside | discord |
| Uneekor Eye Mini | $3150 | Camera | Beside | discord |
The above prices fluctuate on a fairly regular basis. If you see prices higher than listed above then they were at one time cheaper and will likely go back to that price during big sales throughout the year (black friday sales etc).
Cheaper launch monitors and GSPro software have made it way more affordable to play simulator golf. Today you can find budget launch monitors with retail starting at $599 (the Garmin R10).
- Garmin R10 – $599 Retail
Keep in mind that we will need a least 8′ of ball flight and 8′ of space behind the impact area for the r10 to properly read shots.
This little guy is not bad at all for $600 bucks. Looking at ebay sold auctions, I am seeing some in the mid $400’s being sold. On Halloween 2023 one sold for $420.20 and had 15 bids on ebay. It should give you an idea of what kind of discount you can find used. 2nd Swing golf has a used R10 for $469.99 at time of this publication.
Alright – we are saving money so we went to ebay and snagged one for $420.
Another budget option is the Rapsodo MLM2Pro at around $699. Check the MLM2Pro at Amazon.
Pro Tip – If you can find a used GC2 for sale, they work with GSPro and require no additional subscription fee (other than GSPro itself), unlike the $1999 BLP that requires a $500 basic subscription in order to use 3rd party software.
You can shop todays best launch monitors for GSPro with my guide and learn more about each different launch monitor. . To get the r10 to work you need 8 foot of ball flight and 8 foot between the ball and the radar. This is true for all of the radar based systems even like the Mevo+.
If you do not have that much space then a photo metric unit like the Skytrak or Bushnell Launch Pro are going to be on your short list to investigate, as well as a well maintained or CPO GC2.
Hitting Net / Screen – Cheap but Decent Options
What you hit into is one of the pieces that you could ‘cheap out’ on if you needed to. It is where I would go cheap if I needed to stretch the budget.
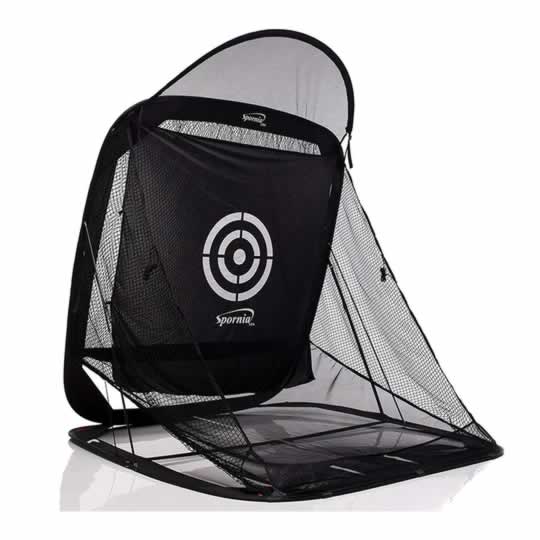
I would hit into a net and use a computer monitor or TV to display GSPro and the shot. Just grab a hitting strip and a net to hit into I would use a computer monitor or TV to display the shot software.
- Sporina Hitting Net – this lower cost net has held up well from the many reviews I’ve gleaned from social media and forums.
- NetReturn – if you want a higher quality and higher priced solution without going to an impact screen then the NetReturn should be on your list. It is a quality and durable solution with multiple different sizes and price options ranging from $195 up into the thousands for their large models.
- Carls Clearance Discount Golf Screens – I would absolutely go this route if you wanted a high quality screen that has some potential imperfections at a bargain basement price.
- Amazon Golf Nets – they will take a ball, find some that have decent reviews and roll the dice.
You do not have to hit into an impact screen. It is not a requirement to play sim golf. If you do not want to make the investment into a projector and impact screen, you can hit your shot into the net and see the results on a display like this (using the Sporina + Garmin r10 + display).
A lot players start out this way to make sure that they are going to enjoy playing sim golf enough to make the investment into an impact screen and projector.
If you do decide you want an impact screen to project the image on then the best budget options are the clearance section at Carls Place. You’ll get an imperfect screen but it is way cheaper for extremely good quality. You can also google “direct from the Mill Golf Simulator Forum Thread” and go to it’s last page and order from an individual there. Years ago when I was building my simulator I thought about using him but ended up going with Carls. You can see my video reviews of the Carls Place Impact screen on my limited youtube channel.
One thing to keep in mind is that depending on which launch monitor you are using will determine how far away from the hitting zone your net can be.
And the farther distance your net is from your hitting zone, the larger your ball impact zone needs to be. If you have a radar based launch monitor like the Garmin R10, you have to get at least 8 feet of ball flight from your hitting strip to the net/impact screen. You have to get a net big enough to let you hit 8 feet away from it while it is still big enough to catch balls as good as my ex. If so, you should be setup just fine.
Enclosures – Used with Impact Screens
The enclosure is optional depending on how you plan to setup your simulator. Personally I do not have to use an enclosure with my simulator as it is in it’s own building and the impact screen runs from one wall across to the other. However if you are building a simulator in your garage you are likely going to need something to catch hozel rockets, shanks and the toe’d drivers other than the mini-van in the other garage spot.
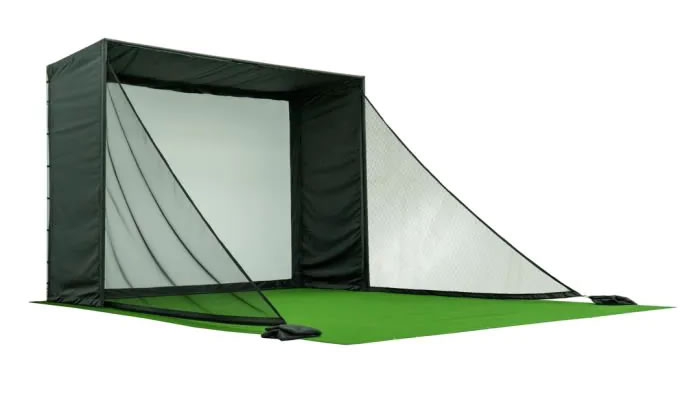
Your enclosure can be as simple or complex as you need. If you decide you do need a full enclosure you can buy them ready to build from Carls Place. Reviews from the internet are very positive on how easy these enclosures are to build and how well made they are. If you have the money to spend and need an enclosure built to your sizes then check out how much it would be to build your own using the Carls Place Enclosure builder. If you are a DIY kind of guy you can also google ‘gung ho golf enclosure plans’ and find a PDF where you can cut the pipes yourself to build the frame and go from there. There are some youtube videos of guys doing this and it is apparently a major pain in the ass, but it can be done.
Computer and GSPro Software
GSPro is $250 per year.
Ideally you already have a computer you can use for your simulator or you can piece and part one together yourself. You do need a fairly powerful system to enjoy the full experience of GSPro on an impact screen if you want the images to look good. And they can look great as the latest courses being designed by the community are coming out incredible.
You computer option is going to be wildly different depending on when and what you end up using.
If you go to GSPro’s FAQ it says you will need a minimum of: 4GB Free Space, GTX 970, 8GB memory, stable internet, ethernet port or bluetooth depending on launch monitor.
Let’s Put My Cheap Golf Sim Build Together ($1308)
- Big Moss High Impact Golf Mat – $349 (see it)
- Garmin R10 Launch Monitor used from ebay for – $420 ( buy used or see new)
- Sporina Net – $289 (see it)
- GSPro – $250/yr (gsprogolf.com)
- Computer – Already have
- Total Cost = $1308 before tax.
My Budget Build with a “Decent” Budget
- Fiberbuilt 4×7 Grass Series – Invest here and buy once, cry once.
- Protee VX – I’m splurging to go overhead with no subscription fee. If not I would find a used Foresight GC2 as it is excellent and does not require a subscription. It is what I am currently using and have been very satisfied.
- Carls Impact Screen – The one I’ve been using for the past 5 years has been excellent and I would happily purchase from them again.
- GSPro – Best deal in the business.
- Computer
- Projector – Wide selection, but the Optima short throw has been great for my setup.
As you can see, simulator golf is way more affordable today than ever before. The newest launch monitors have brought the price down combined with the awesomeness of GSPro software. It has made playing sim golf with your own setup way more accessible to more people.
I hope this guide helped you narrow down your choices for budget sim golf equipment that is still pretty darn good. Get out there, put your pieces of the puzzle together the best way you know how. You can be playing sim golf for less than you thought.
Related Content
- 100 Different Simulator Builds – From Budget to Baller
- My Original Golf Simulator here at OTG and here is my new sim build progess.
- My DIY Golf Sim Guide for Dummies and err…. You!
- Golf Hitting Strip Insert Comparison
